
Updating the 1952 Chevy Pickup
The original build of my '52 Chevy truck was done at least 20 years ago, so there's a few things in need of attention now. Plus there's a couple of things I want to change just to suit me.
|
The first thing fixed in the cab was the stuck defrost cable. It was cleaned and the main reason it was stuck is it wasn't assembled correctly. I also took the opportunity to relocate it from beside the foot brake release over to the dash hole originally meant for the Throttle cable, which was unused and plugged with a bolt and dress nut.
I also ordered a new cigarette lighter socket and installed it back in its original place in the dash. I don't smoke but I want a 12-volt accessory outlet. |
To keep this page from becoming extremely long, several fixes and updates have been moved to their own pages. Just follow the button links to them or browse through the menu.
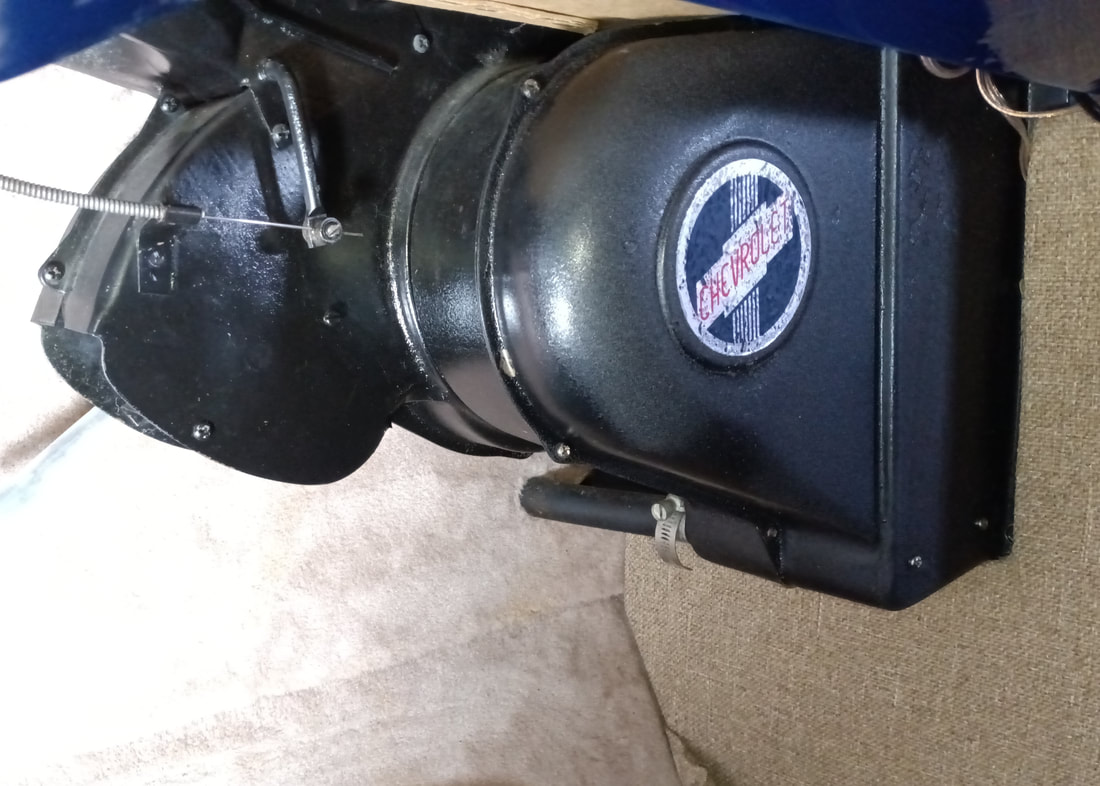
Fixing Some Heater Problems
|
The heater has several issues that need addressed. The root cause of most of them is the motor and the only way to get the motor out is to remove the entire heater from the truck, which is detailed on the Heater Repairs page.
|
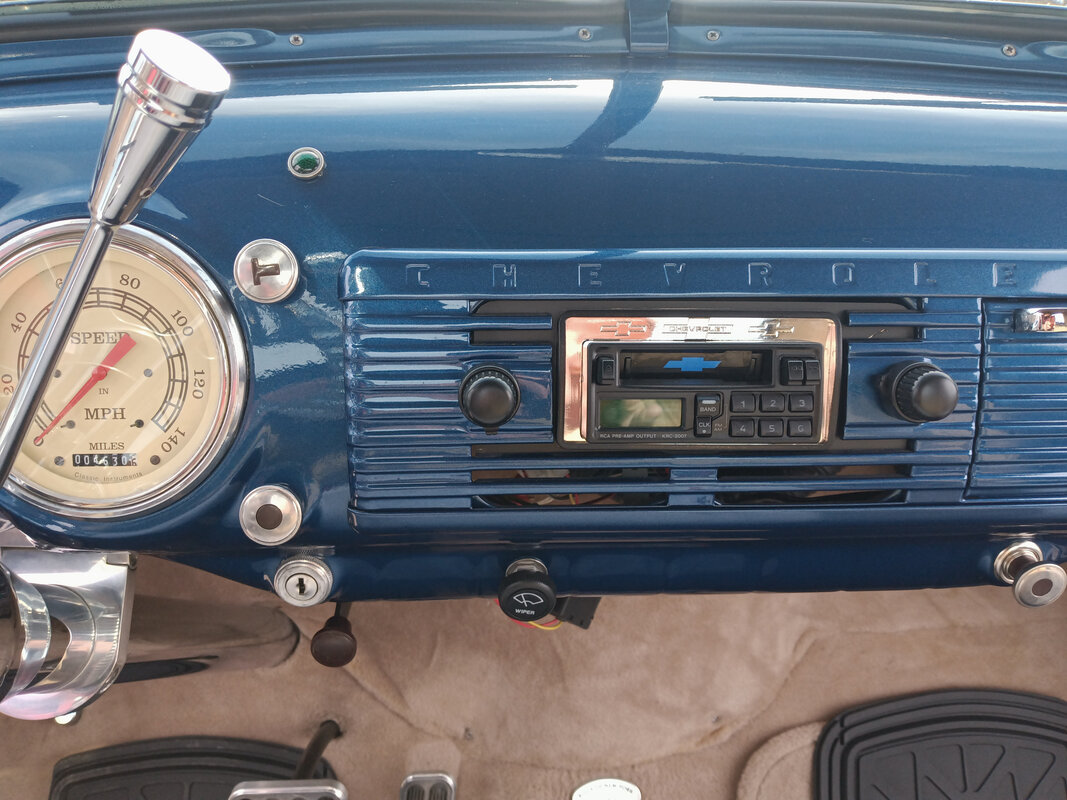
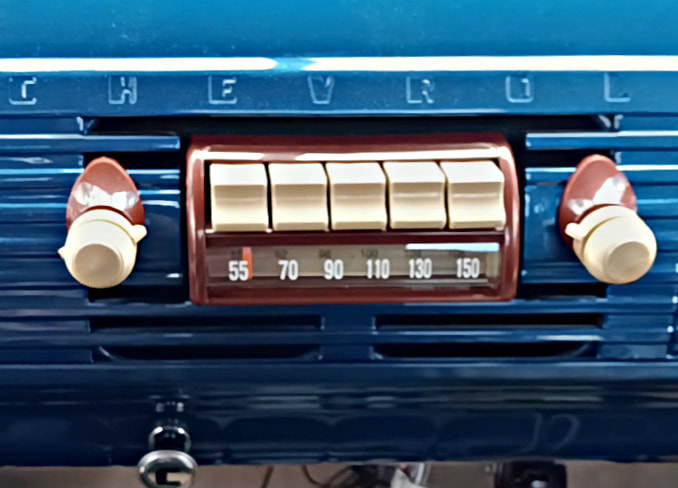
Installing a New OEM-Style Radio
|
Replacing the old radio with a new OEM-style set should have been a fairly simple job, but it turns out nothing is ever easy.
|
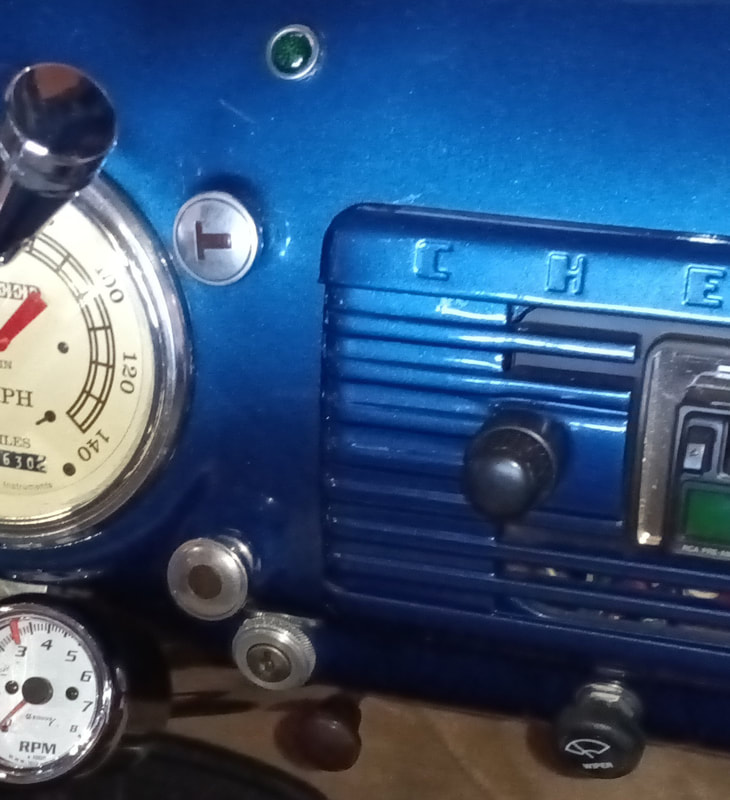
A Few Changes to the Dash Controls
|
|
While I had the radio out I took advantage of the easy access to the inside of the dash to move a few things around.
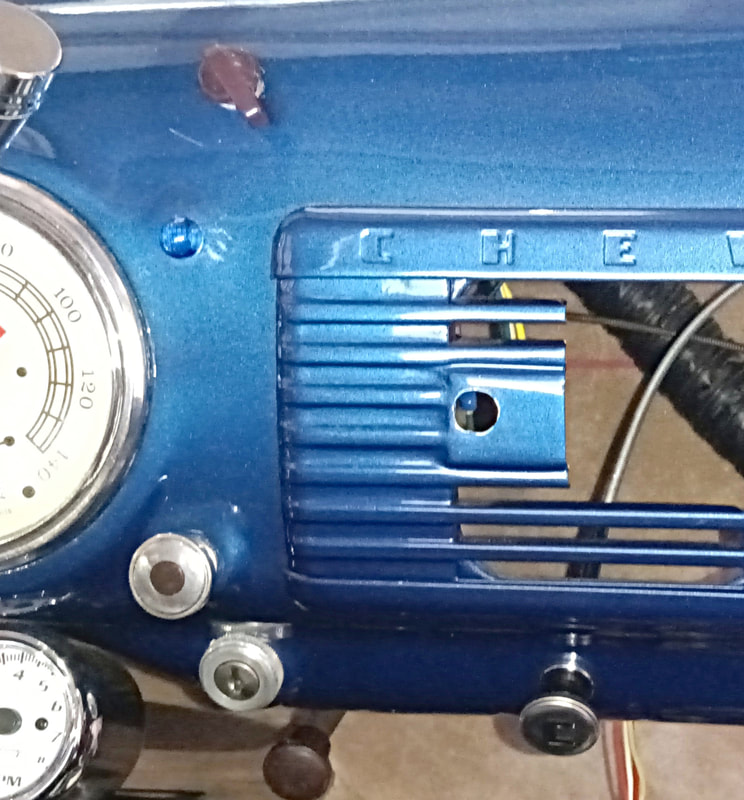
In this build I didn't like the location of the wiper switch, which was mounted in a hole at the bottom of the dash and had a black, modern-looking knob. Also, a green high beam indicator was located in a hole at the top of the dash. And the Choke cable hole had been plugged with a knob and a screw, probably because of a cluster gauge mounting bracket behind the dash is very close to it, leaving little room for a control.
In this build I didn't like the location of the wiper switch, which was mounted in a hole at the bottom of the dash and had a black, modern-looking knob. Also, a green high beam indicator was located in a hole at the top of the dash. And the Choke cable hole had been plugged with a knob and a screw, probably because of a cluster gauge mounting bracket behind the dash is very close to it, leaving little room for a control.
The wiper switch was moved to the topmost hole and its knob changed to an original style. This location is not actually the original wiper control hole, which was a couple of inches higher up on the dash, but was deleted. However, it still makes the wiper control look more like factory.
The original style wiper knob was not designed as a control switch knob, so I adapted it by drilling it out, installing a brass insert, and adding a set screw.
Next the High Beam indicator lamp was moved down to the Choke cable hole, it's small enough to fit, and I also changed it from green to blue.
Finally, the control cable to the new heater control valve was installed in the hole on the bottom of the dash that used to have the wiper switch in it. I used a Choke cable, so now I guess "C" will have to stand for "cold" or maybe "closed".
Fixing Some Electrical Issues
|
|
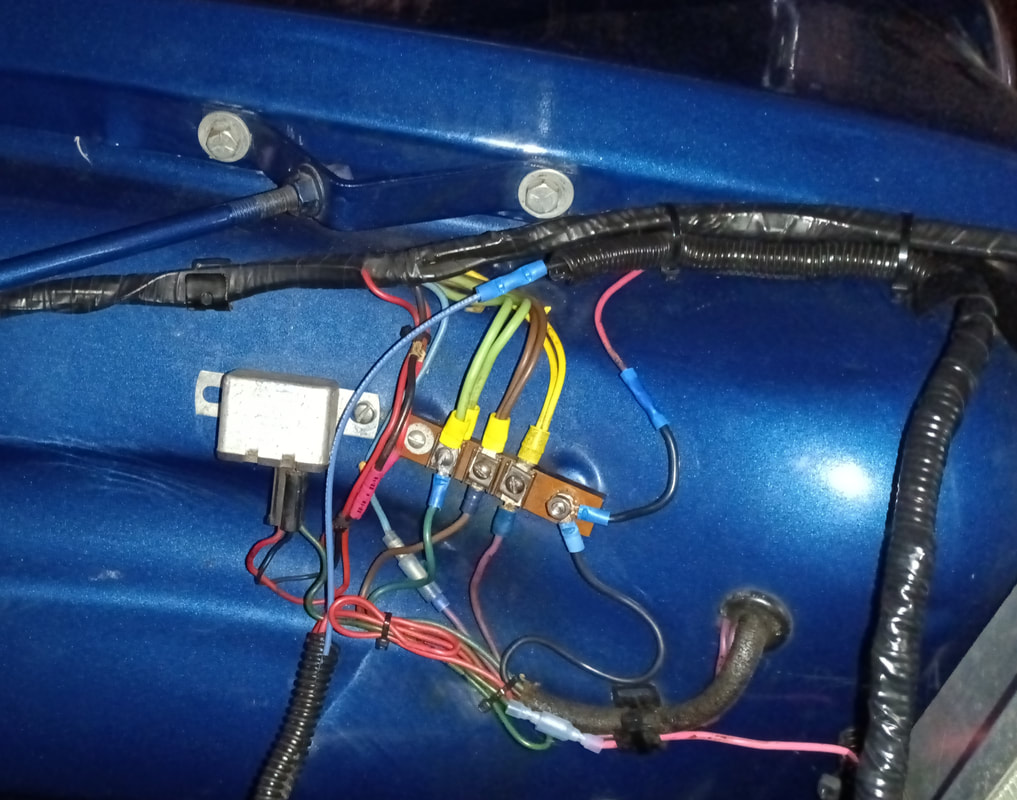
An inspection of the electrical wiring exposed a few issues. There were a number of poorly crimped or broken terminals and I was able to pull wires right out of some of them. These were all replaced and I also added ground studs on both inner fenders because there were several ground wires haphazardly screwed down here and there.
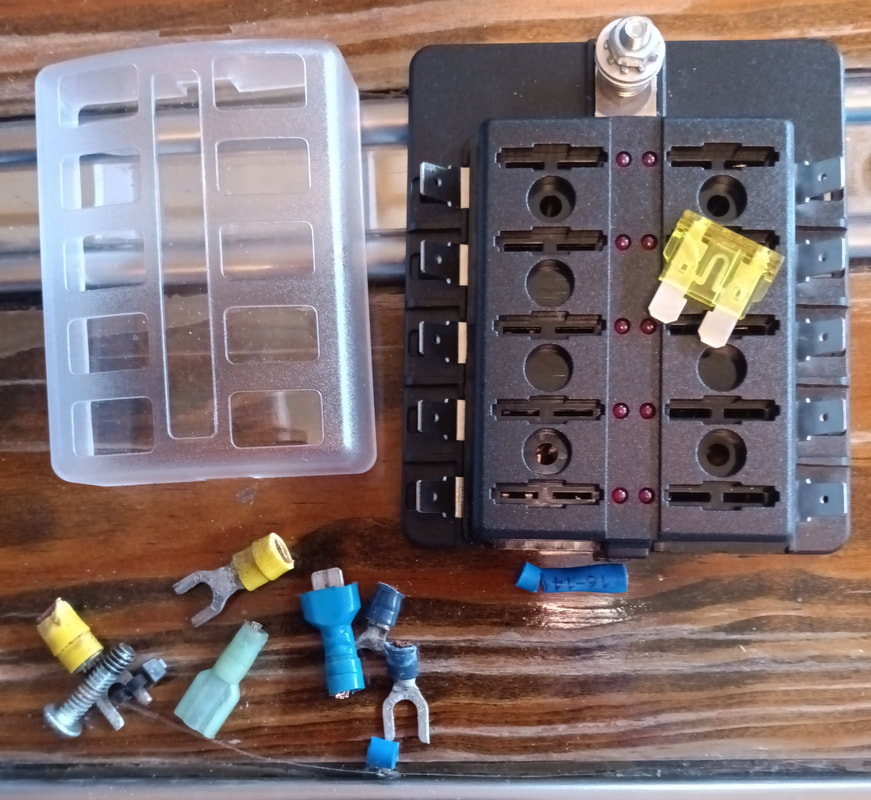
I also purchased a small, modern 10-fuse ATC-style fuse block to replace the original 5-fuse strip that used the old style 3AG glass fuses. I needed a few more fuses and this seemed the best way to get them. The hardest part of the install was just drilling a couple of mounting holes.
I also purchased a small, modern 10-fuse ATC-style fuse block to replace the original 5-fuse strip that used the old style 3AG glass fuses. I needed a few more fuses and this seemed the best way to get them. The hardest part of the install was just drilling a couple of mounting holes.
Adding a Tachometer

|
The instrument cluster doesn't have a tachometer so I added a 2.5" tach on the side of the steering column, under the speedometer. It's out of the way but still easily visible. Installation for this one was actually pretty simple, the electronic ignition distributor cap has a spade terminal for connecting the tach, and the other connections are simply 12-volts, ground, and the backlight.
|
Giving the Truck a Checkup
|
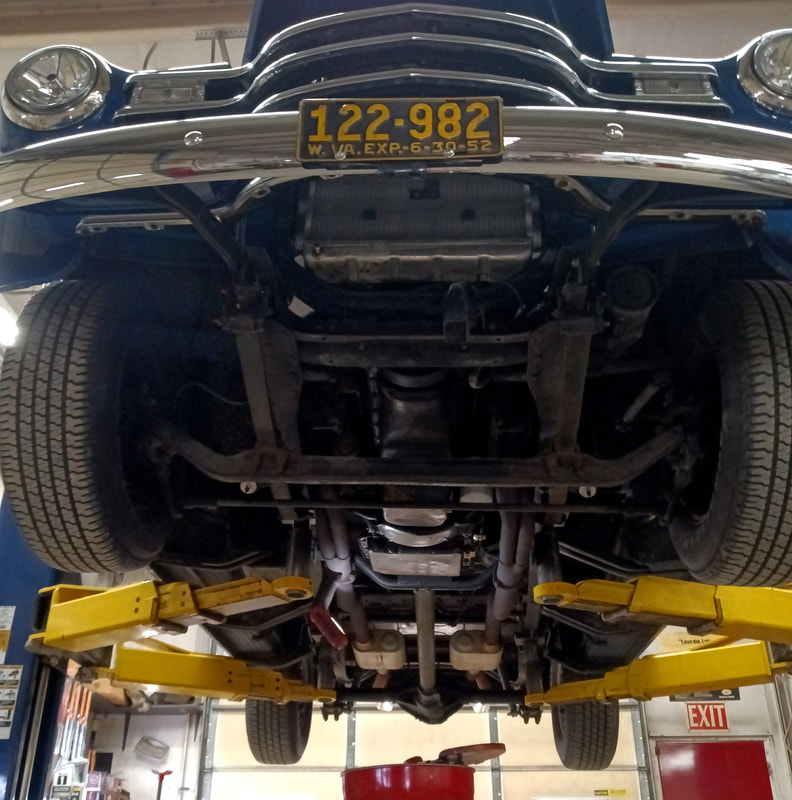
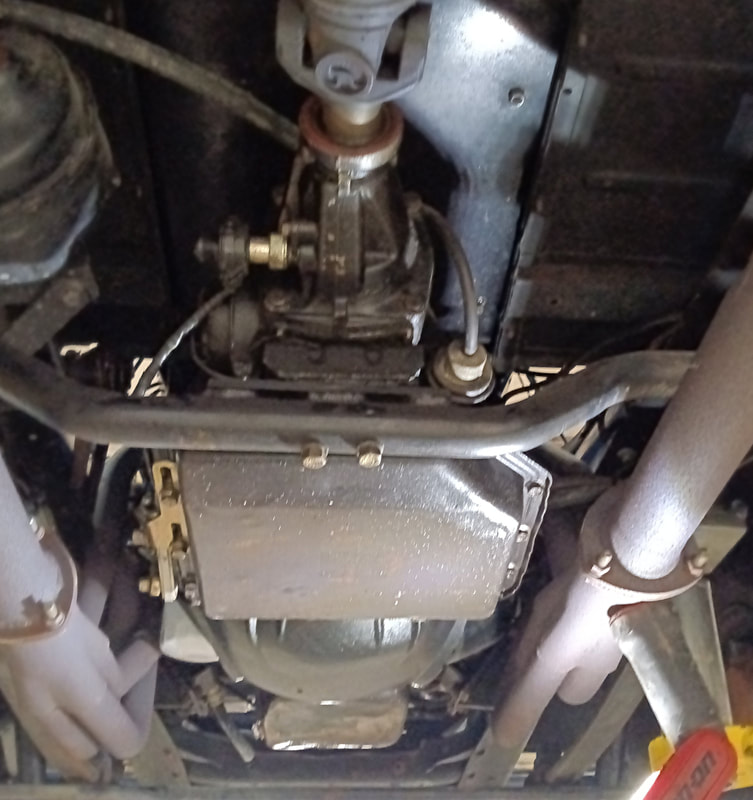
The truck was scheduled for service with a local mechanic who also builds drag racing cars and has restored vintage vehicles. Since I don't know the last time any service work was done, if ever since the rebuild, the truck was completely checked out and the fluids and filters changed in the engine, transmission and rear differential. It was also tuned up, greased, and got new shocks front and rear.
The mechanic only found a couple of issues; the transmission pan bolts had been over-torqued which dimpled the pan around the bolt heads, preventing the new gasket from sealing properly, and the Quadrajet 4-barrel carburator has a broken internal spring that's messing with its performance. Although the broken carburator spring could be replaced, the whole carb really needs rebuilt, but for about a hundred bucks more than a rebuilt carb, I bought a new Quadrajet carburator that also has an electric choke. |
I also see a bit of surface rust on the front axle and springs that I'll clean and repaint as well. And I found a broken weld on a muffler hanger that will need rewelded.
|
A new replacement transmission pan wasn't available and would have to be ordered, so the dimpled pan holes were peened flat again and it was reinstalled. It actually flattened out very nicely, but if it shows any tendency to leak it will get replaced.
|
New Shocks All Around
|
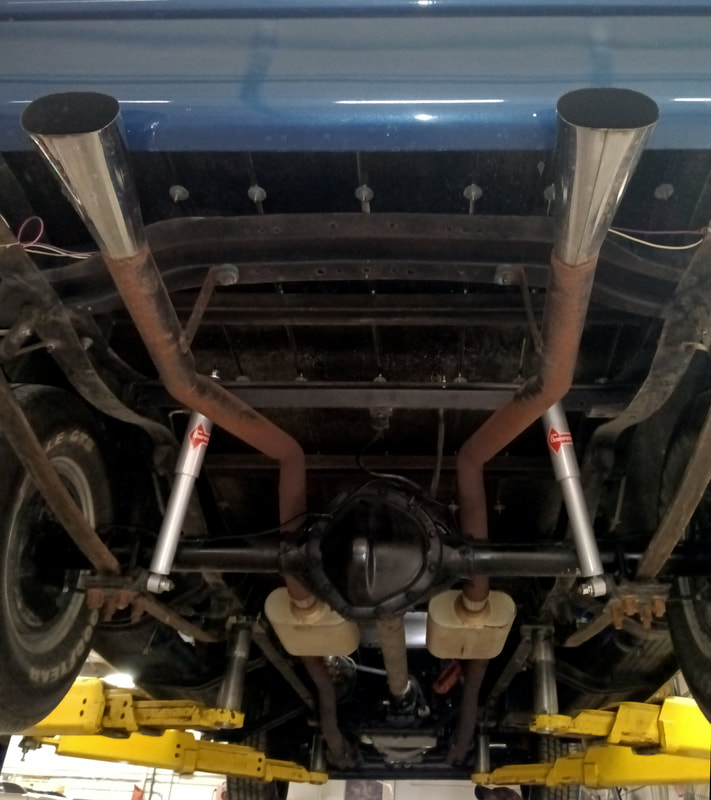
Even though the truck only has about 4500 miles on it since the restoration, after sitting for more than two decades the old "gas charged" shocks are as dead as doornails.
The front shocks, which are still basically the same size as OEM, are readily available. They also crossed right over to KYB Excel-G shocks, which are what I'll use. That takes care of the front, but the rear shocks, which are not the same as OEM because the upper mount points were moved, are a bit of a problem. The Monroe shocks on the rear are no longer made, and are not listed in any Monroe catalog or cross reference. On top of that, after taking measurements of both the truck and the shocks, I discovered the shock dimensions don't match up with the truck measurements. They are actually too short, and the piston in the shocks is only about an inch from the top of the cylinder with the truck sitting level at ride height. |
But after searching through page after page of online shock specs, I finally came up with a set of properly sized KYB Gas-a-just shocks, and the ride home from the mechanic was a whole lot smoother than the ride in.
Installing Seatbelts
|
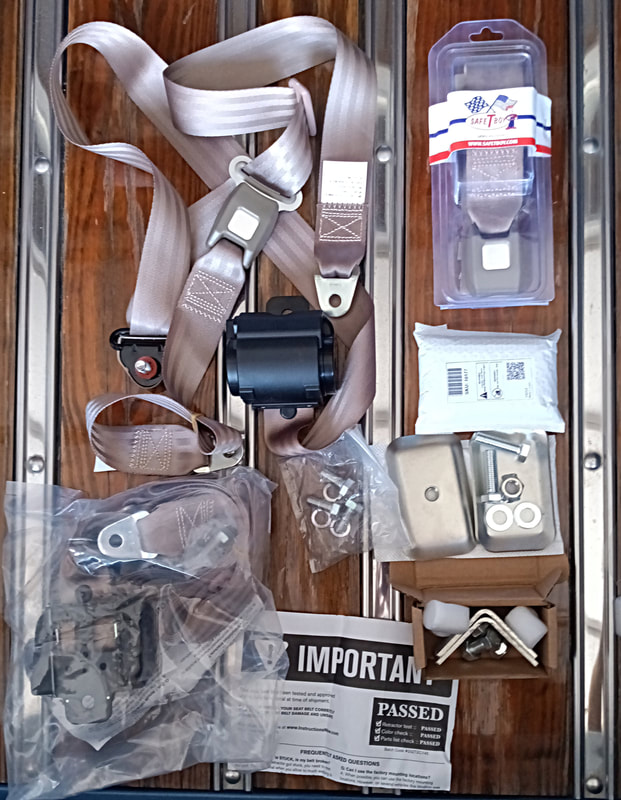
I decided to install seatbelts to be safe, and went with 3-point belts over just lap belts because of the metal dash.
|
The Worst Mess Of All
As part of the radio and seatbelt installs I removed the bench seat from the truck. That's when I discovered the nastiest surprise in the whole vehicle. As I already mentioned, the previous owners had taken good care of the vehicle, but with one big exception. Someone stored this vehicle in a garage or other building that was infested with mice. The bottom of the bench seat was one big mouse house.
Previously I replaced the emergency brake rubber boot because it was damaged and I could see straight through it to the garage floor. I remember thinking at the time that it was a perfect mouse hole.
So I spent a couple of days working outside cleaning the seat. The upholstery has a foam backing on it that the mice apparently didn't care for so it was untouched, but the entire seat frame had been wrapped in cotton batting before the upholstery was put on, and the mice used the batting from around the sides for nest material. The seat springs were sewn into individual burlap bags before being installed in the seat frame, and all the burlap bags had to be opened for inspection and removing any nesting. Everything was well vacuumed with a shop vac and sprayed down with a potent cleaner. After the burlap dried it was sprayed with clear acrylic lacquer to seal it. Then the entire bottom of the seat was recovered with new burlap.
Page created 2/6/2024
Last updated 5/31/2024
Last updated 5/31/2024
