A Radio Dial Neon Clock
A friend gave me what was once a nice retro-style neon clock with a Federated Auto Parts background, but it had definitely seen better days. It was dirty and scratched up, and nothing in it worked. The clock movement was corroded inside from an old battery, and the neon driver was toasted, and it was missing the wall wart power supply for the driver board. But the neon tubes and the dial glass were unbroken so I thought I could still salvage it and make it into a nice radio dial clock.
|
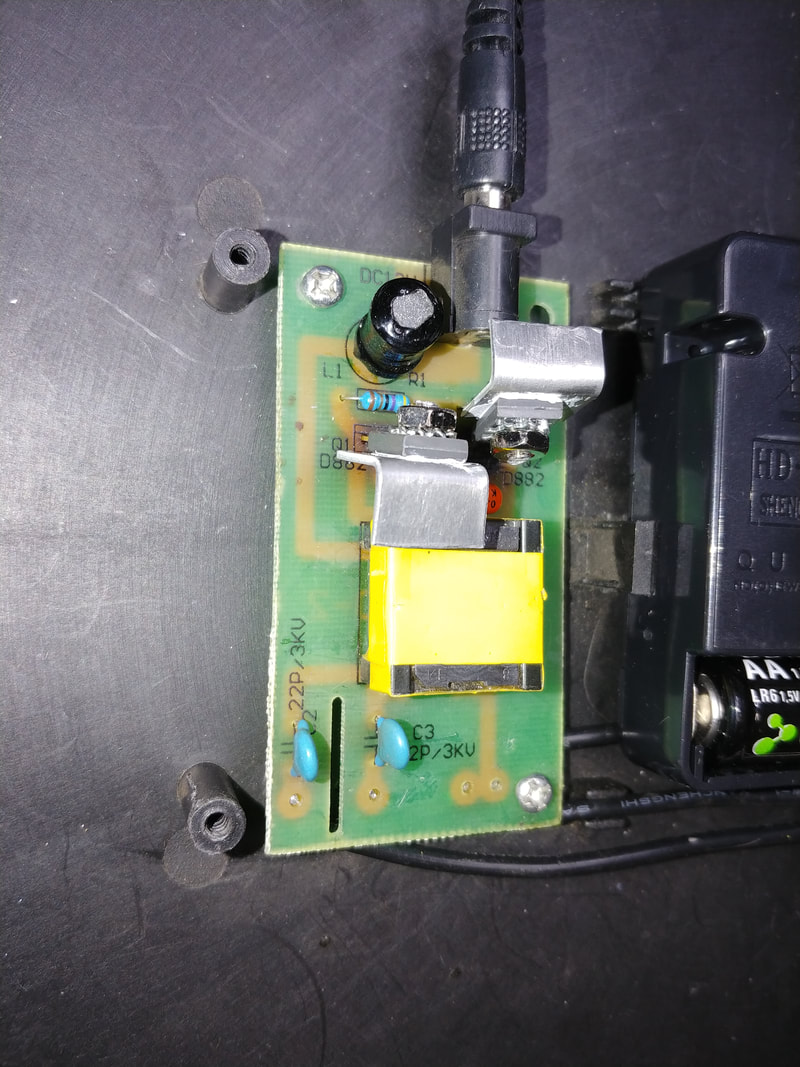
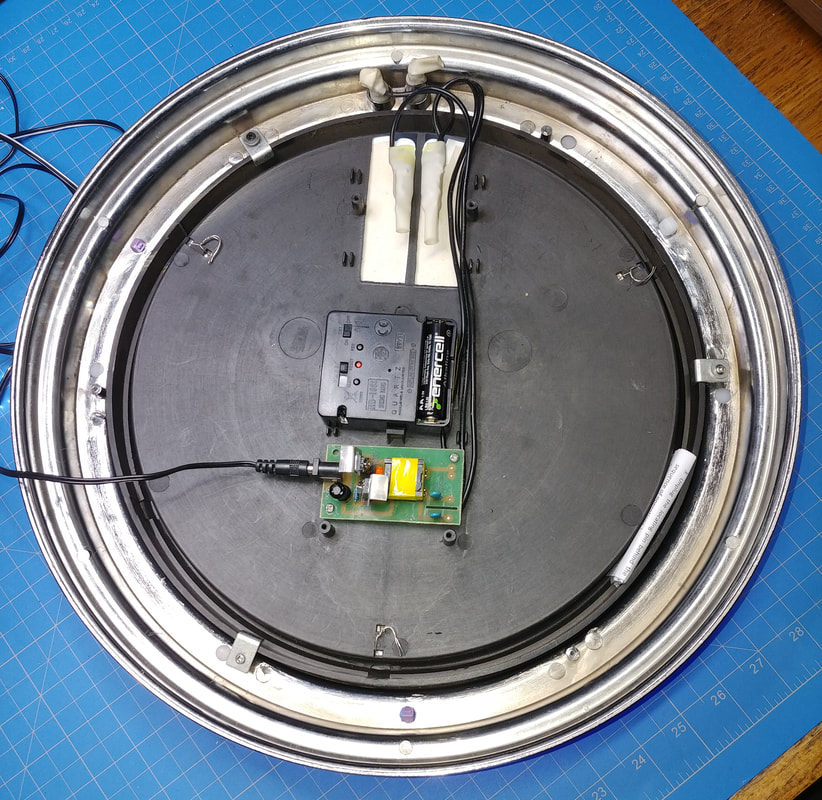
On the driver board both power transistors were toasted and replaced. I've cleaned up the driver board as much as I can, but the PCB is charred in the area where the transistors mount. It also looks like someone tried to work on it before I got it and miswired the two neon tubes to boot, so I fixed that too. Maybe that's what toasted it.
|
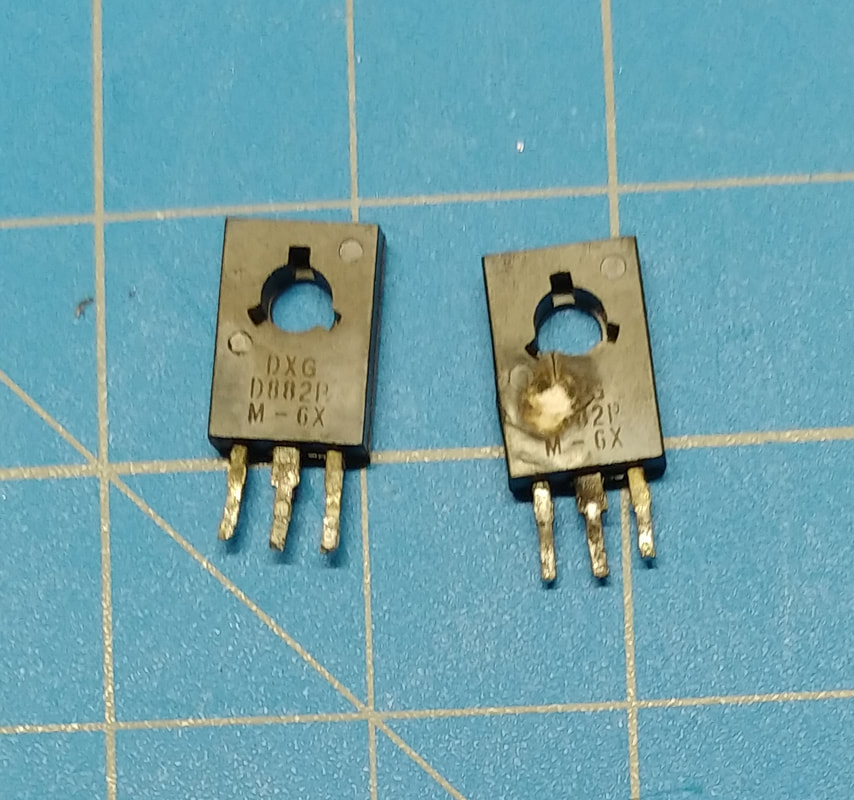
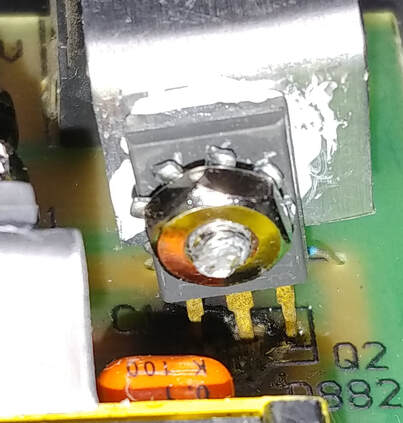
One of the original transistors got so hot it has a hole burned right through its case. Just to be safe with the new transistors I added some small homemade heatsinks. The board is badly burned where the transistors solder in so I really should make a new PCB, but for now I patched it up.
|
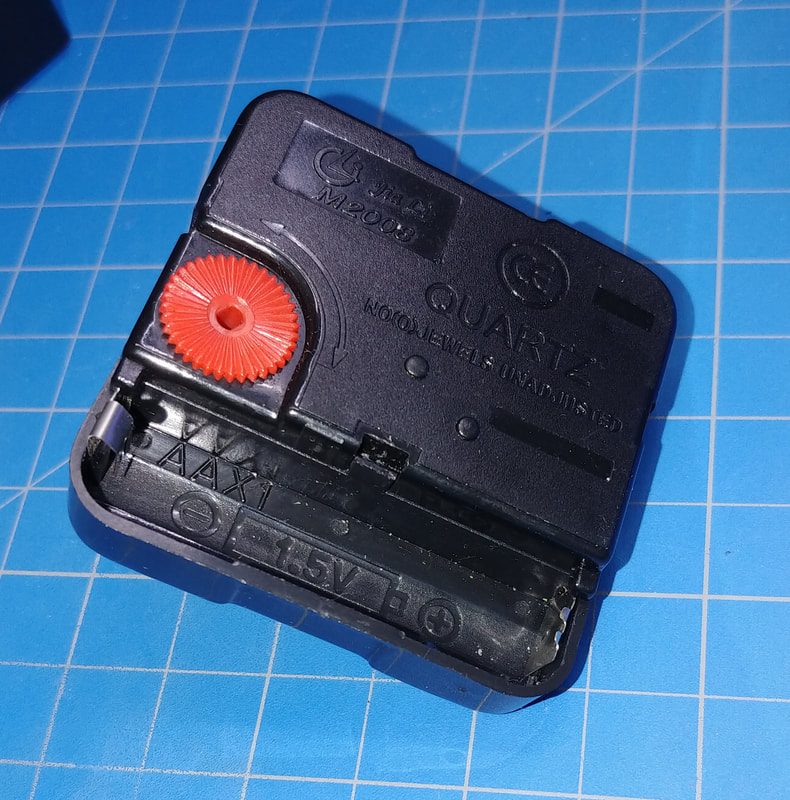
I ordered a radio-controlled "Atomic" clock movement to replace the defunct one, but it's slightly larger than the original and I had to trim some plastic to make it fit. I was worried that noise from the neon drivers would interfere with the clock's radio, but it synced up and is working fine. There is also a cover that goes over the clock movement and driver board area that is not shown.
|
|
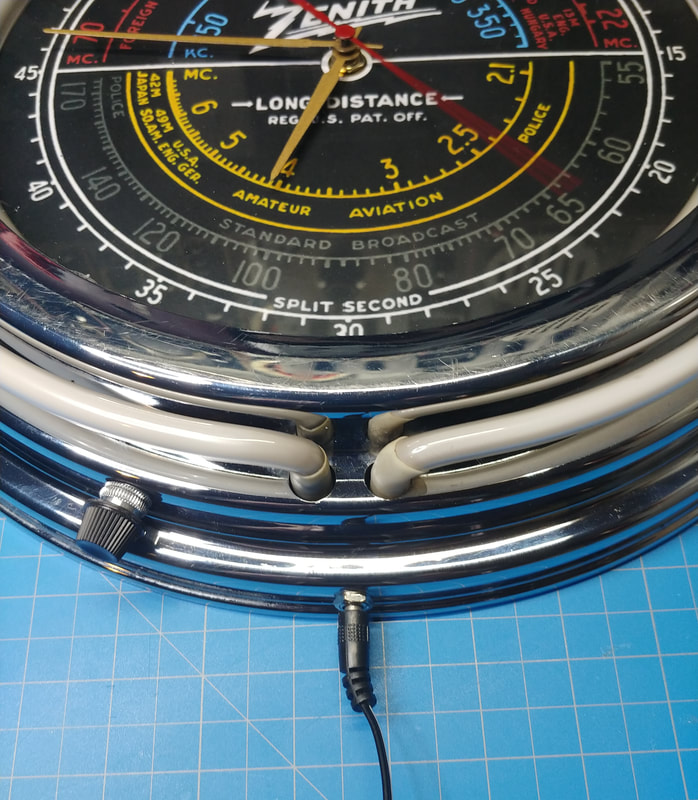
At the last minute I decided to add a rotary lamp switch to turn the neon lights on and off, and a power input jack on the bottom rim of the clock for the driver's wall wart. I found both parts in my stash of stuff. Besides the switch and jack, rebuilding the clock has only cost me some time, a little ink, paper and cardboard, a new clock movement, and the two transistors and wall wart from my parts bins.
|
|
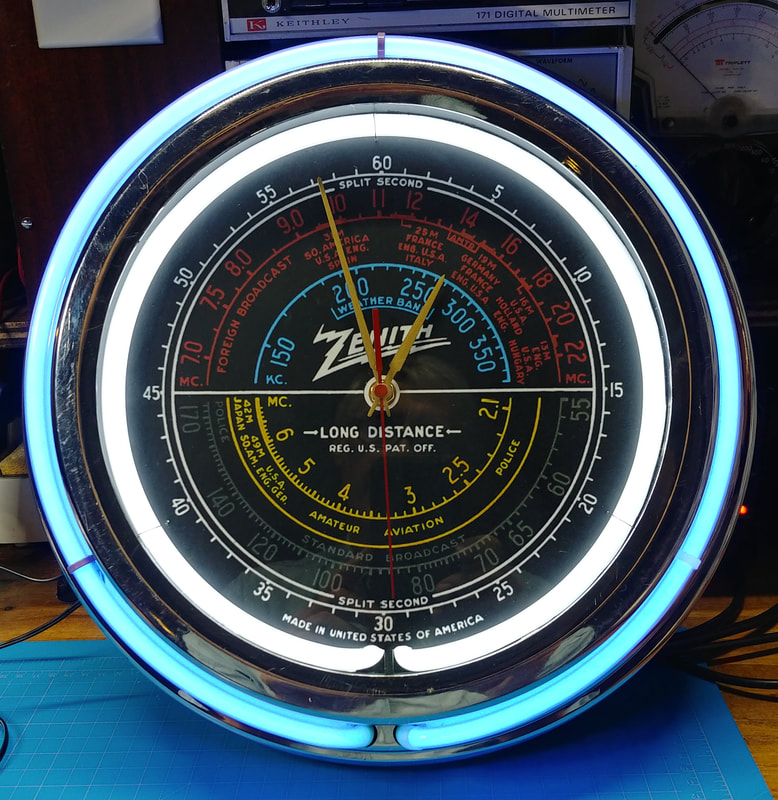
Here's the finished clock face. I painted the hour and minute hands antique gold, and the second hand red, to make them a little more "Zenithy" and easier to see against the black dial. I made the dial by editing and resizing a Zenith radio dial graphic in Affinity Designer and printing it on my HP 7500 wide carriage color printer. The print was sealed with spray lacquer and mounted on cardboard before being cut out. It is held in place by the clock nut and washer, plus the white neon tube and wires that strap it down. Since the dial has the 0 to 60 outer scale, with marks that match the hours, I didn't feel it was necessary to add any numbers, the dial just looks good all by itself. I'm very happy with the final result and it looks great on the wall.
|
Page created 10/15/2020
Last edit 10/17/2020
Last edit 10/17/2020

