Restoring a Supreme Model 562 Audolyzer
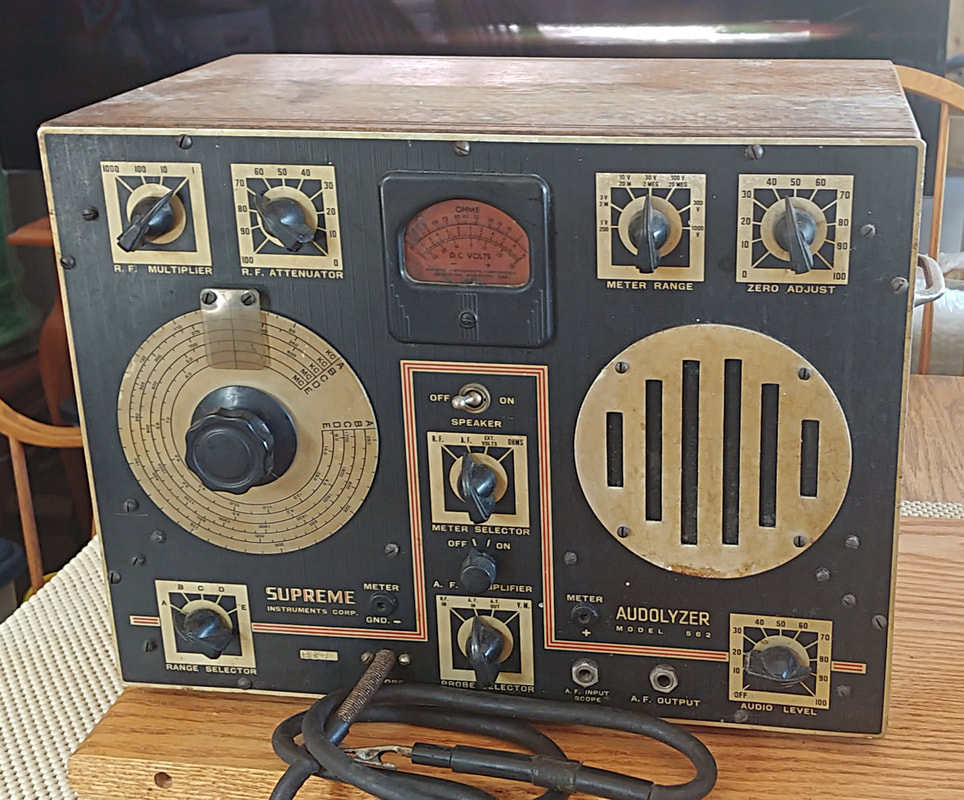
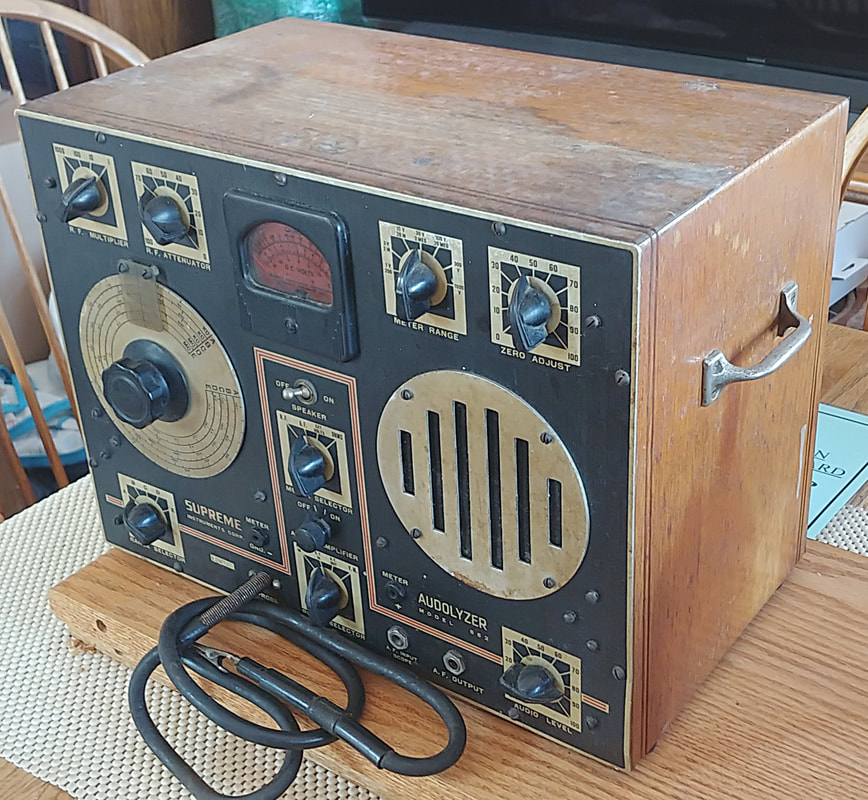
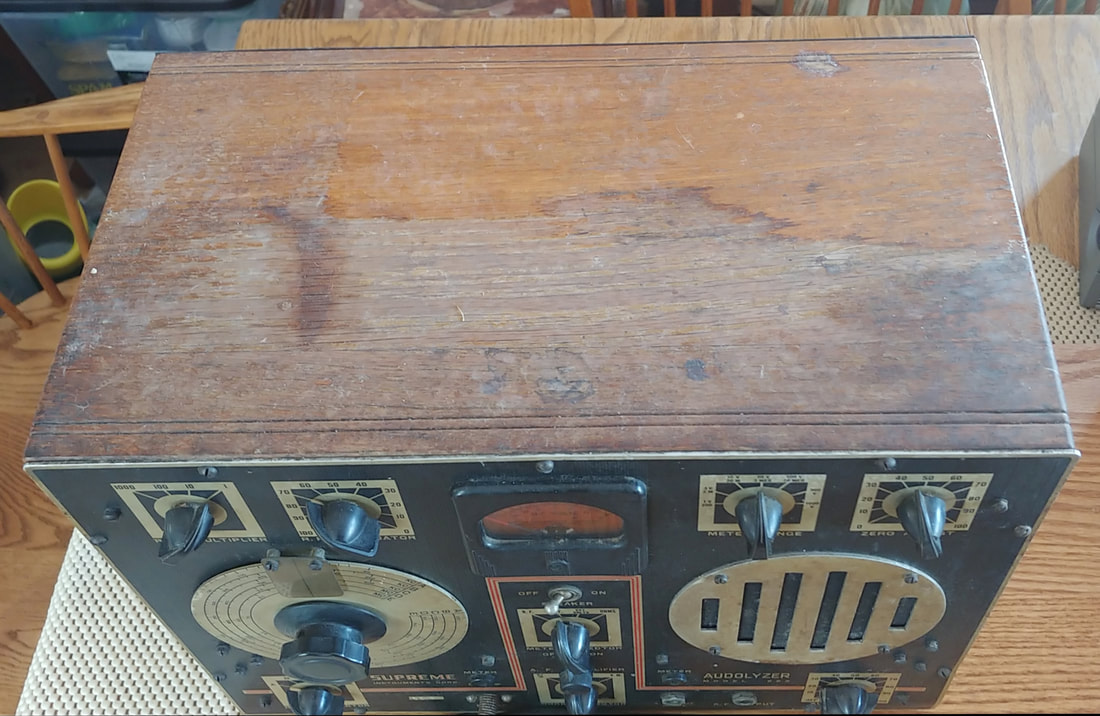
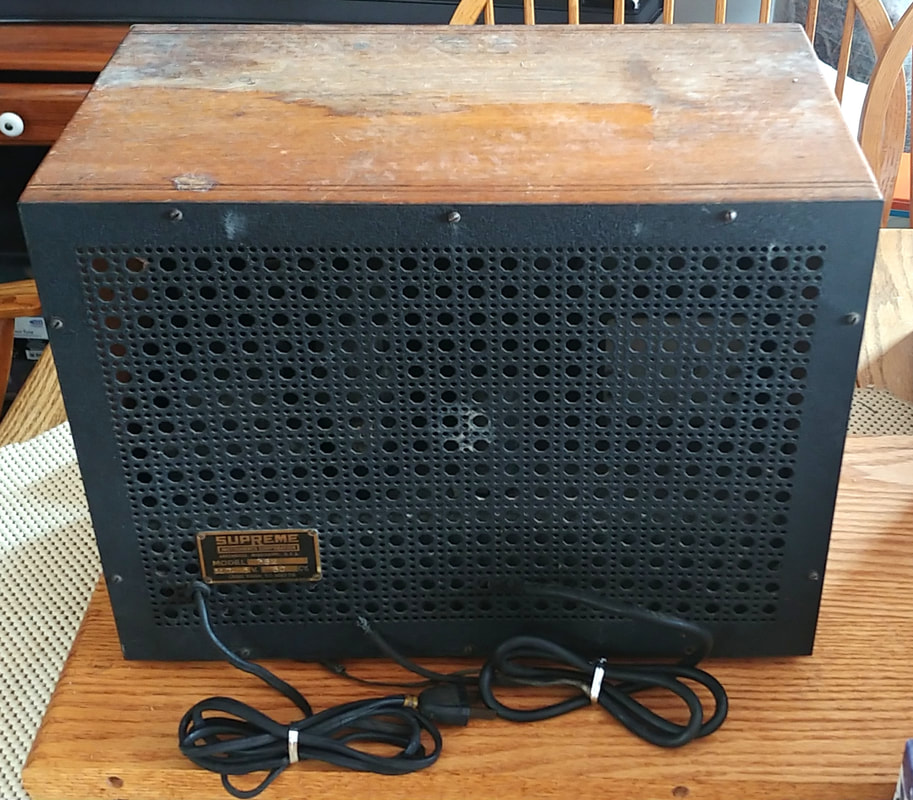
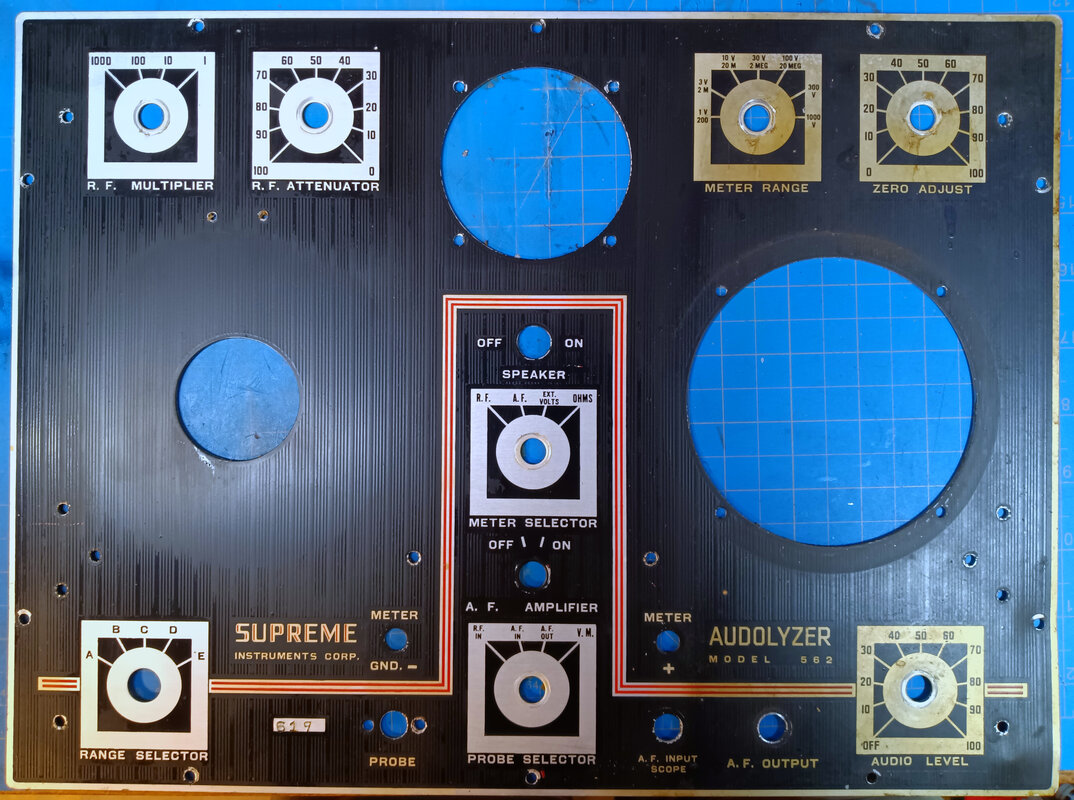
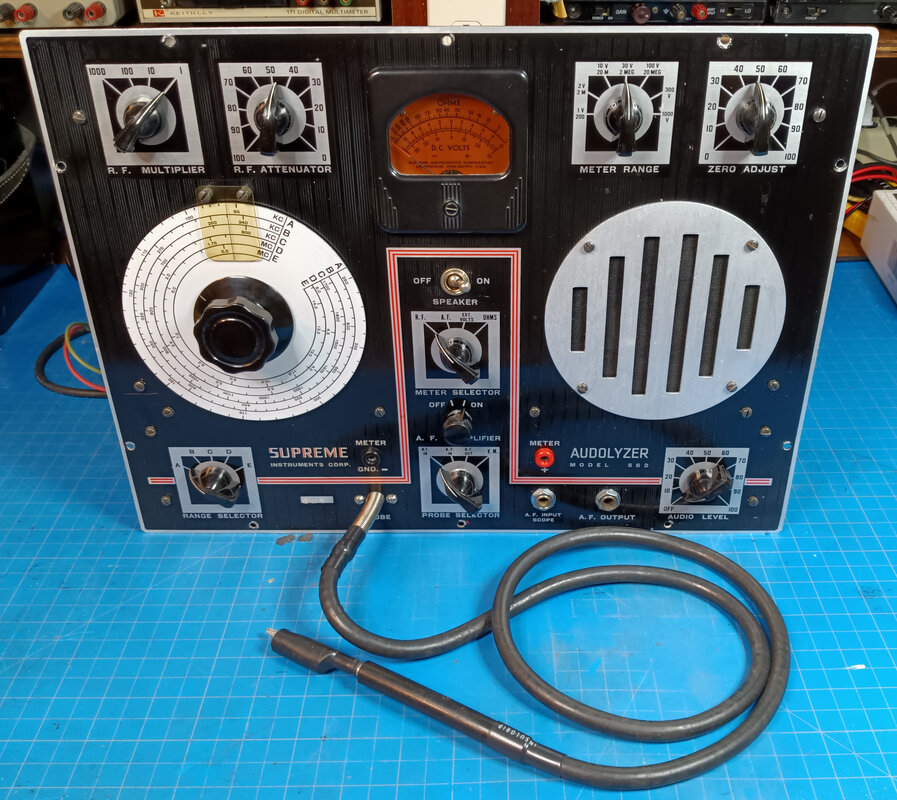
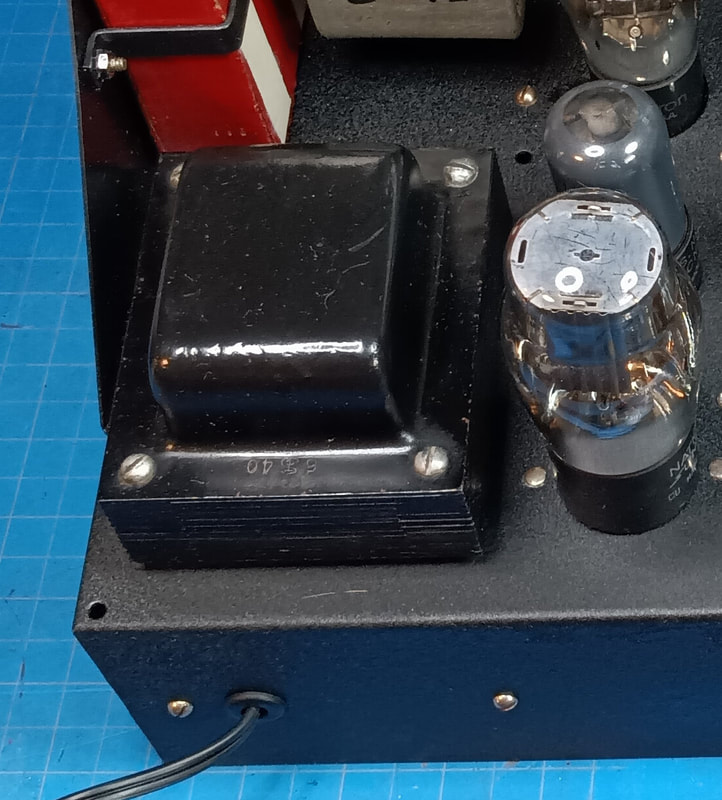
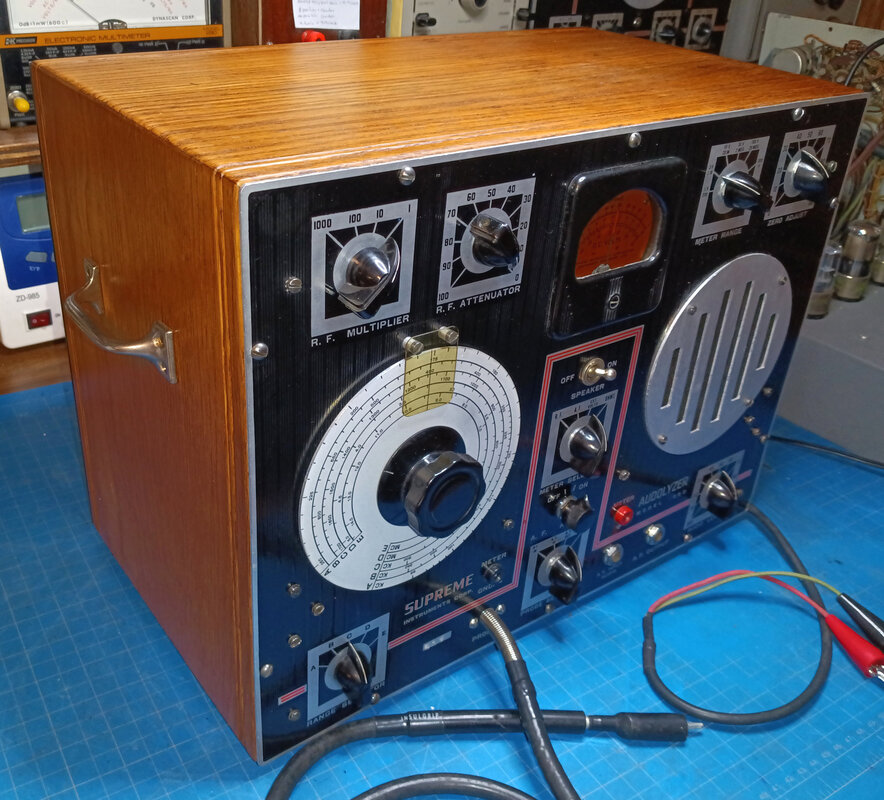
This Audolyzer has a black front panel and is S/N 619, making it several years older than my gray model with S/N 2443 from circa 1946. The power transformer is stamped with what I think is a three number date code of June 1940, so my best guess at a date for this one is around 1941.
I hadn't planned to buy another Audolyzer but the price was right and it is the perfect match to both my 560-A Vedolyzer and my model 561 Combination AF and RF Metered Generator. I can use them together as a "dynamic analysis system" just as in Supreme's 1941 advertisement.
I hadn't planned to buy another Audolyzer but the price was right and it is the perfect match to both my 560-A Vedolyzer and my model 561 Combination AF and RF Metered Generator. I can use them together as a "dynamic analysis system" just as in Supreme's 1941 advertisement.
|
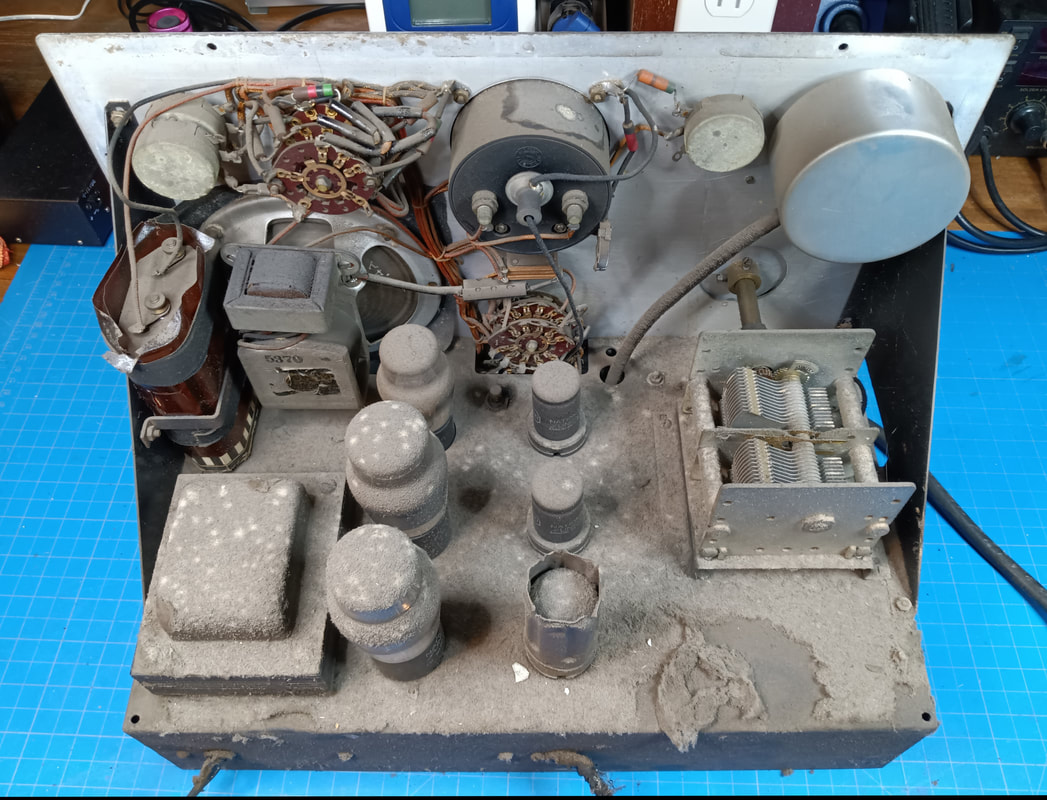
The chassis is covered in dirt and dust, as thick as a blanket. But underneath it all, the paint still looks like it's in good shape. This Audolyzer chassis has a black wrinkled paint finish just like my model 563 audio generator.
I had a bit of an accident with a cleaner which caused a little paint loss in one place on the chassis, since touched up, but in the process I discovered that this chassis is actually chromed and matches the chassis in my Vedolyzer and Combination AF and RF Generator. It was just painted over at the factory. This is another reason I think this set is from earlier in the 40's, because my later gray Audolyzer chassis is definitely not chrome underneath. I wish they hadn't painted it. |
|
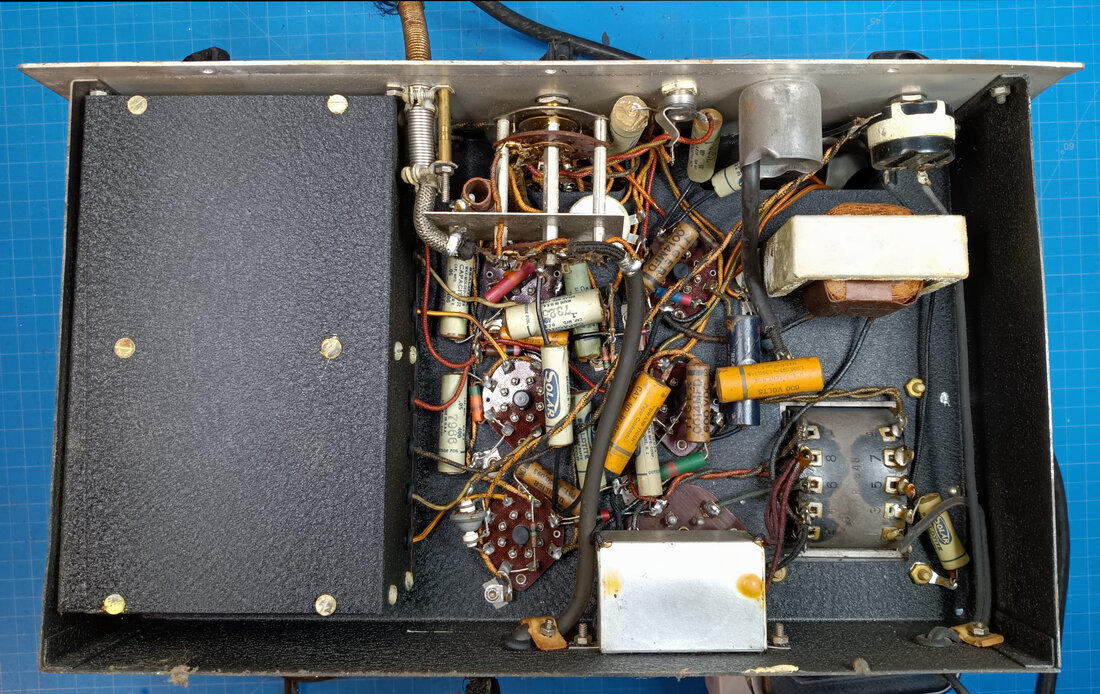
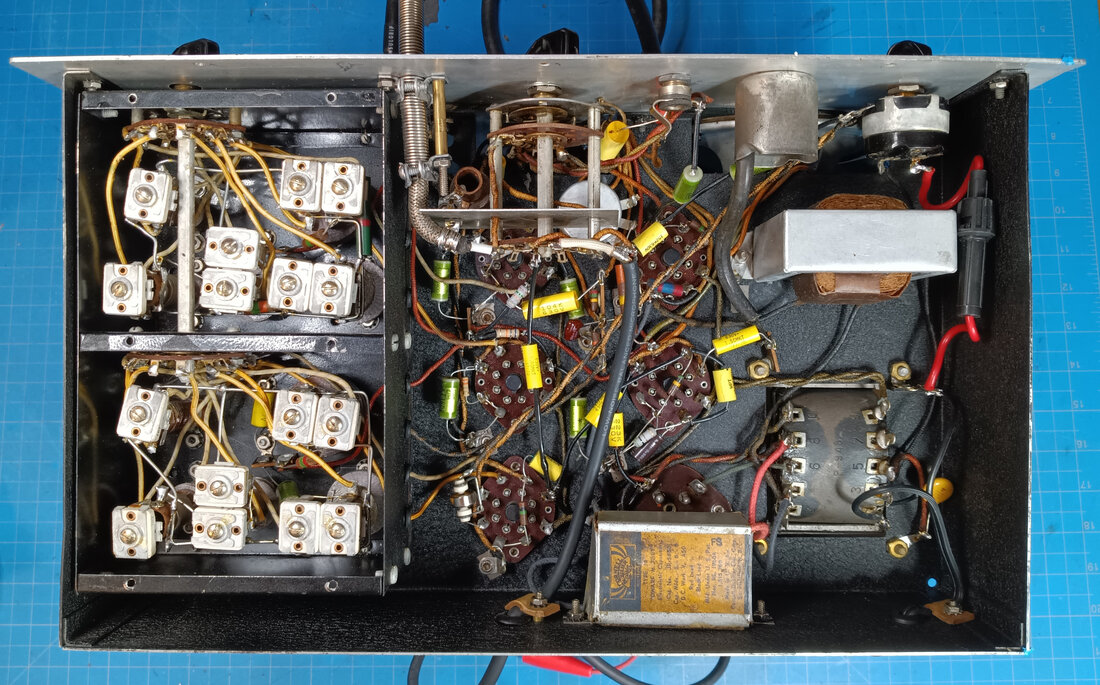
Under the chassis is clean and looks original. There is what looks like cadmium oxidation on the metal of the power supply filter choke, but no rust on the chassis.
I see there is a bias battery in the first audio amp and a #80 rectifier tube that match the older Audolyzer schematic, but there are also front panel functions, the ohmmeter and the Audio Input/Scope jack, that match the later schematic. More of Supreme's continuous design changes. |
|
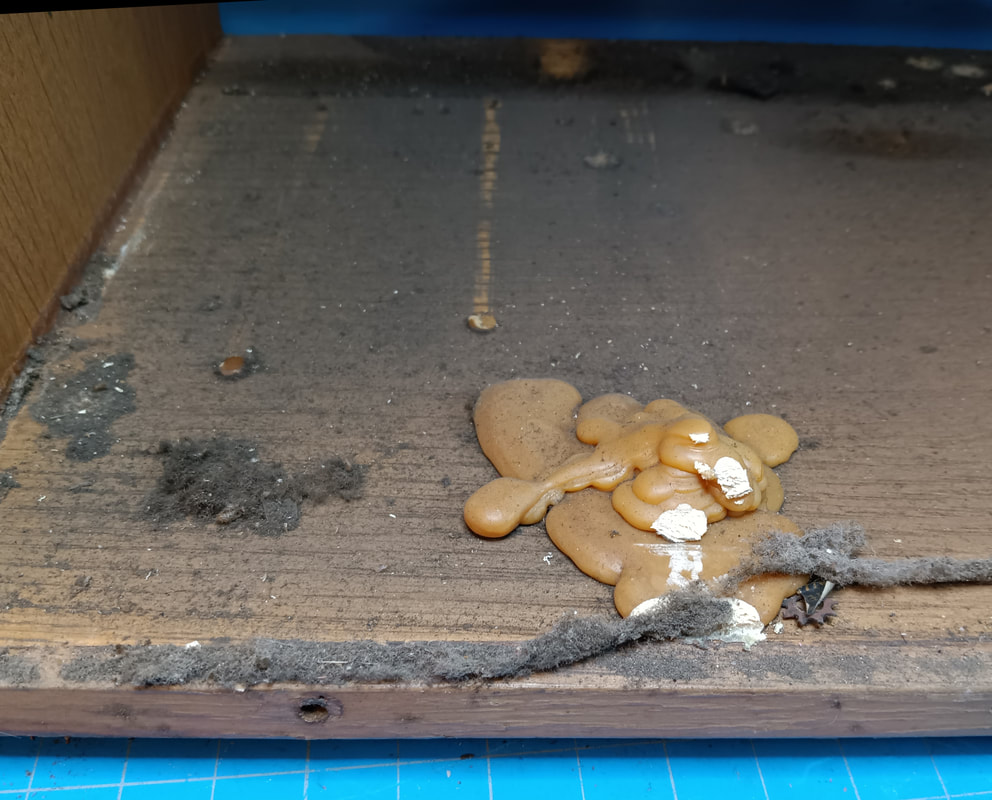
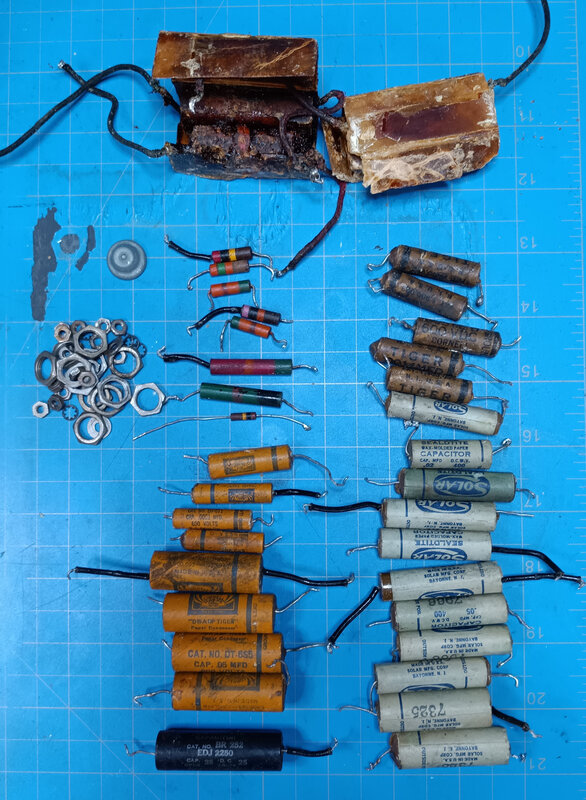
Someone in more recent times foolishly tried to power up the Audolyzer without checking for bad capacitors first. This huge puddle of wax is from the box containing the three power supply filter capacitors. And since there are two or three layers of wax, they did it more than once. There's also some paper and foil capacitors that have dripped wax, too. To make sure they didn't damage any expensive parts in the set, I checked the primary of the audio output transformer, the speaker's field coil, the filter choke and the power transformer for opens and shorts. The 1946 schematic has resistance readings for all the windings, and all except the power transformer high voltage winding are spot on the ohms values given.
|
The power transformer high voltage winding is shown as 600Ω, but is reading 530Ω, and there is 14Ω difference in readings between the center tap and the two ends of the coil. This doesn't necessarily mean the transformer is bad, but it doesn't prove it's good either. So I temporarily powered it up on my variac (with no tubes installed in the Audolyzer) and checked the AC voltage readings. They look good, within a volt from the winding center tap to both sides, and the filament voltages look good, too. So I hope this means it's OK. I also recently purchased an original Audolyzer transformer online and its ohms reading are very close to the readings on this transformer.
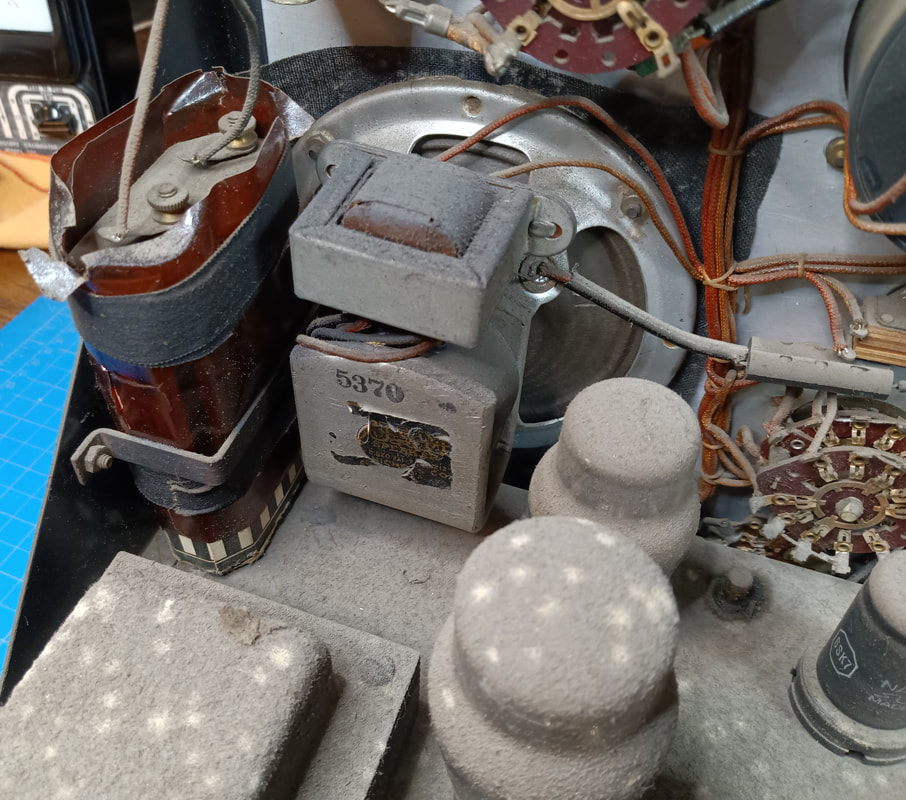
Someone in the past actually wrapped the batteries, which helped prevent them from rusting the chassis. That was thoughtful.
Hmmm, I wonder what all the white spots are in the dust? Probably not something I'd want to breathe in.
Hmmm, I wonder what all the white spots are in the dust? Probably not something I'd want to breathe in.
|
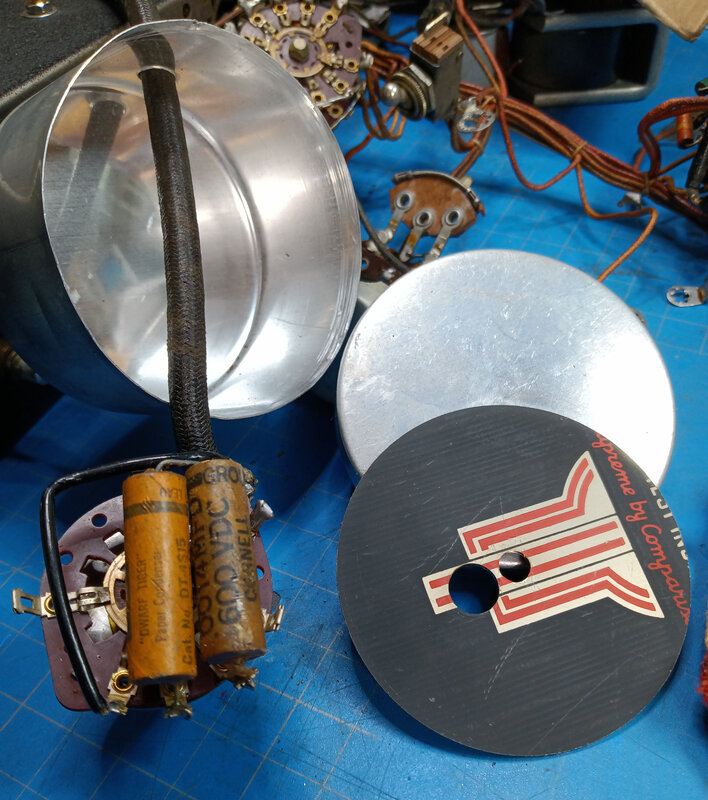
The shielded multiplier has a couple of paper and foil capacitors that need replaced. The original, older Audolyzer schematic has three capacitors in the multiplier, but the later schematic only has two, as in this instrument.
These shielded cans can be stuck together pretty tightly. In my model 561 Generator someone really bent up the edges of the back half of the shield can trying to pry it open. The easiest way I've found to open them is to carefully run my swiss army knife blade around the joint between the two halves. It loosens them enough that the halves pop right open. |
|
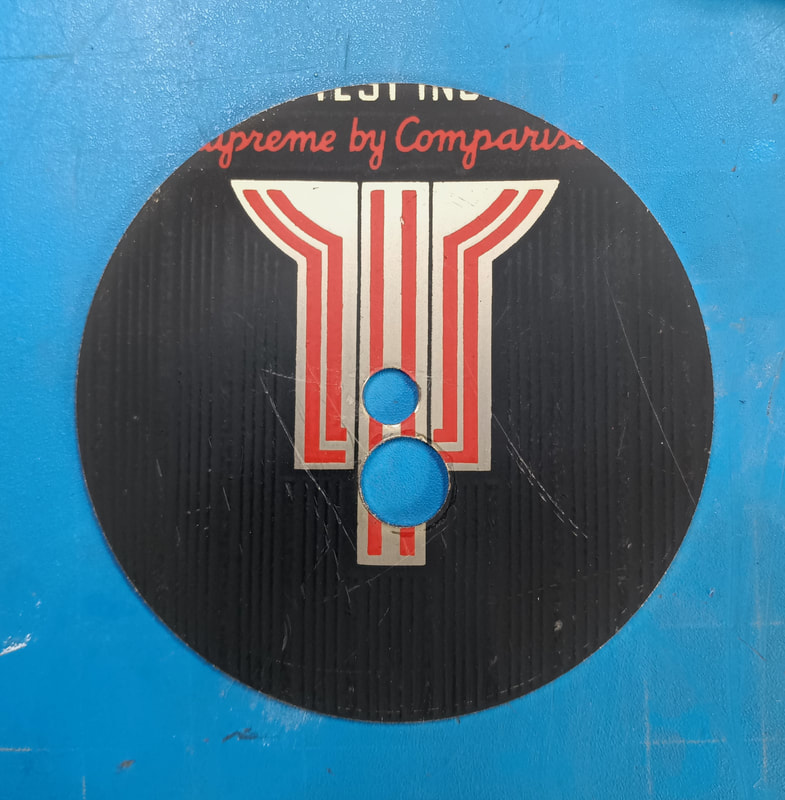
Inside the multiplier shield is an interesting tidbit. It's a disc cut from a larger panel and looks like it might have been an advertising sign or something similar. I'm thinking maybe even a clock face, because the big hole is for the multiplier control, but the small one was already there for something else. This is a steel plate and not aluminum like the Audolyzer panel. After looking at some Supreme catalogs and their logo I think it might have said something like:
SUPREME RADIO TEST INSTRUMENTS Supreme by Comparison Or something like that. Their catalogs and ads used the phrase "Testing Instruments", but it's pretty obvious in this case the plate just said "Test". They also used the phrase "Radio Testing Instruments" on their 1940 catalog cover. Maybe that's why it got cut up into little discs, somebody messed up the spelling. Anyway, just a little Supreme puzzle to ponder. |
|
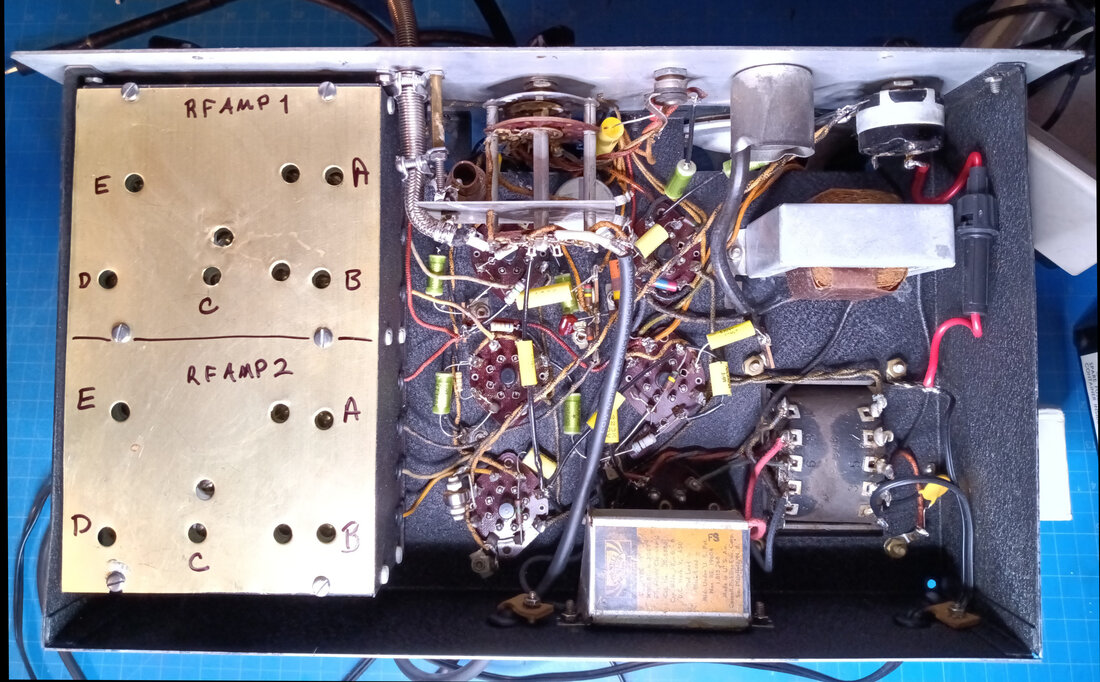
Under the chassis is done. All the old electrolytic and paper and foil capacitors were replaced, but a lot of the original resistors were still very close to their marked values and were left. The hardest capacitors and resistors to get at are in the shielded box for the two RF amplifiers. The old filter capacitors were removed from their silver cardboard box and the new filter caps put back in it to keep it looking original. I also flipped the box around so the label is visible. Also, in the upper right corner of the chassis I added an inline AC fuseholder with a 1-amp fuse for safety.
|
The old 1.25-volt button bias battery has been replaced with a modern 1.5-volt button cell for testing. I pressed small indentations in both sides of the battery so it would stay clipped in the holder. If it doesn't work then the audio circuit will be modified to match the later Audolyzer schematic that provides self-bias.
|
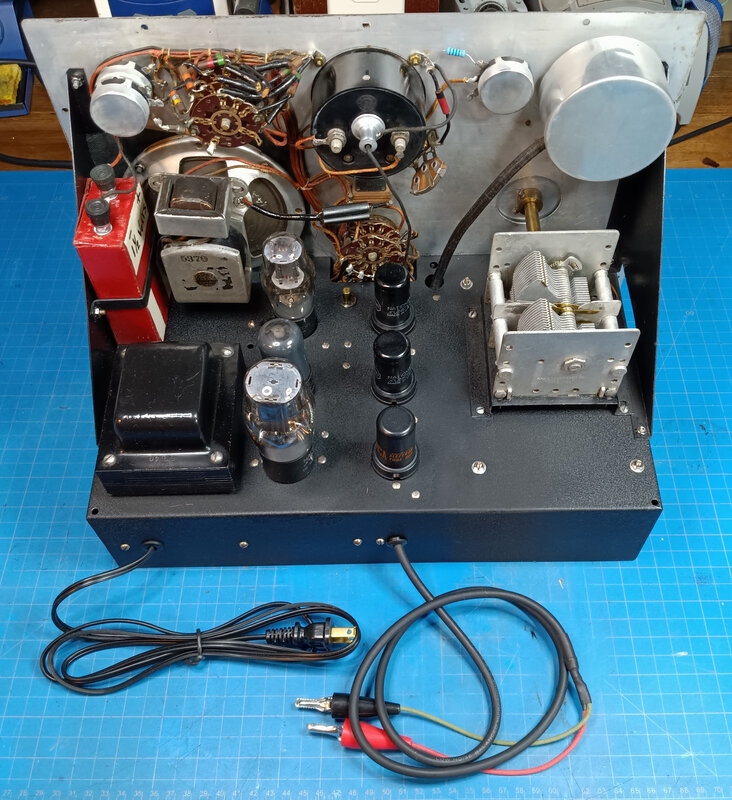
The top side of the chassis is also finished. All the tubes were tested and the glass 6SQ7 tube was replaced with a metal tube to eliminate the cobbled up tube shield someone had put over it.
One other thing I noticed is the wiring on the 6J5 tube socket. Both the 1939 and 1946 schematics shows pin 1 tied to ground, but in this unit it is not. Instead it is used as a tie point for other wiring. The problem is this is the tube shield pin for the 6J5 and ties to the shell of a metal 6J5 tube or the metal base on some glass tubes. So I have a glass tube with a Bakelite base installed. I haven't replaced any of the range resistors for the volt and ohm meters just yet. I'm waiting to see how close the readings are before deciding if any really need changed. |
|
The front panel is finished and all the knobs cleaned and polished. The two tip jacks for the meter were replaced with matching style banana jacks because almost all my meter leads have banana plugs, and for the positive side I used a red jack. All the old corroded panel nuts were also replaced.
I cleaned and polished the stress relief spring on the input probe and reused the big, thick original probe cable and tip. I couldn't find any cable that came close to duplicating the look of the old cable, and thankfully it was still in decent condition. I did have to change the screw-on alligator clip, as well as the out of tolerance 100KΩ internal probe resistor. |
|
First power up went well. I brought up the TRF receiver by switching to AF Output mode, and picked up our local AM station right on frequency with just my finger as an antenna. I'm not having any of the sensitivity problems like I did with the gray Audolyzer.
I set my Variac for 117.5VAC as specified on the 562's rear panel label and the B+ is at 270VDC just like in the gray Audolyzer. The voltmeter works and was calibrated using a 1-volt standard. I did have to change the 2KΩ resistor in series with R42 to 1.5KΩ to get enough adjustment range on the pot. This resistor is also 1.5KΩ in the gray Audolyzer. |
The audio out of the first AF amp (in the 6SQ7) looks clean and undistorted on a scope, so the 1.5-volt bias cell seems to work just fine.
Removing the bottom cover plate to get at the trimmers, plus bringing a hand or tool anywhere near the coils, affects the tuning, so I made a brass plate with holes to access the alignment screws, and substituted it for the cover plate during the alignment.
Removing the bottom cover plate to get at the trimmers, plus bringing a hand or tool anywhere near the coils, affects the tuning, so I made a brass plate with holes to access the alignment screws, and substituted it for the cover plate during the alignment.
On the switch end of the cable, where the coax shield was soldered to the switch frame, the center conductor insulation was melted, allowing the braid and center conductor to intermittently touch. Trimming the cable would have made it too short so it was replaced. The effect of the center conductor shorting out was the same as switching the RF Multiplier to 1000.
The center conductor of this old coax is really odd. It's a fine, springy steel wire and reminds me of nichrome, and like nichrome wire you can't really solder to it. The wire was just "embedded" in the solder. I replaced it with a piece of the original antenna input cable that was previously removed and which matches the cable used for this same connection in the gray 562.
The center conductor of this old coax is really odd. It's a fine, springy steel wire and reminds me of nichrome, and like nichrome wire you can't really solder to it. The wire was just "embedded" in the solder. I replaced it with a piece of the original antenna input cable that was previously removed and which matches the cable used for this same connection in the gray 562.
|
The power transformer is a Stancor model P-948, and the specs are listed in the 1939 Stancor catalog. I noticed the transformer was getting very warm after the Audolyzer was on for about 2 hours, to the point that a couple of drops of wax dripped out of it, not a good sign. This made me worry that there still might be a problem caused by the old shorted filter capacitors.
First I measured wattage with all the tubes removed, and thus no real load. The power dissipation measured 5.4 watts and the transformer temperature stabilised at about 90°F. I also tested the gray Audolyzer as a comparison and it's power dissipation was similar at 4.8 watts. |
My AC line voltage runs high, usually around 123VAC, 5.5-volts higher than the specified 117.5VAC. Also, the power usage is stated as 50 watts max. However, even at 117-volts the power consumption is high at about 56 watts. For comparison the gray Audolyzer is also a bit high at about 52 watts. I then checked the transformer's temperature and at two hours it was over 120°F and still had not stabilized. I also checked the transformer temperature of the gray Audolyzer and it stabilized around 120°F.
The B+ is stated as 250 volts on the later schematic, but 270 volts on the early schematic. Both my early and later Audolyzers use the same power transformer and rectifier, and at 117VAC both give 270 volts B+. Also, the instrument's 6.3VAC filament voltage runs a little bit high at 6.6VAC.
The B+ is stated as 250 volts on the later schematic, but 270 volts on the early schematic. Both my early and later Audolyzers use the same power transformer and rectifier, and at 117VAC both give 270 volts B+. Also, the instrument's 6.3VAC filament voltage runs a little bit high at 6.6VAC.
For the next test the AC input was lowered until the B+ was at 250VDC, which put the AC input at 110 volts. This also put the 6.3V filament voltage at 6.1VAC, and the 5V filament at 4.9VAC. And the power consumption dropped to 51 watts. Lowering the B+ made no discernable difference in the Audolyzer's performance and the power transformer temperature stabilized at about 114°F.
To lower the high line voltage permanently I added a 20Ω 20-watt resistor in series with the transformer's primary to keep the AC to it at around 110 volts. The total power dissipation of the 562 at 117VAC is still 56 watts, but now 5 watts of it is dissipated in the power resistor and not the transformer.
Since both transformers behave similarly, I think the only issues are they are nearly 80 years old and being stressed by high AC input voltages, but just in case I actually found an original Audolyzer transformer online for a replacement if needed.
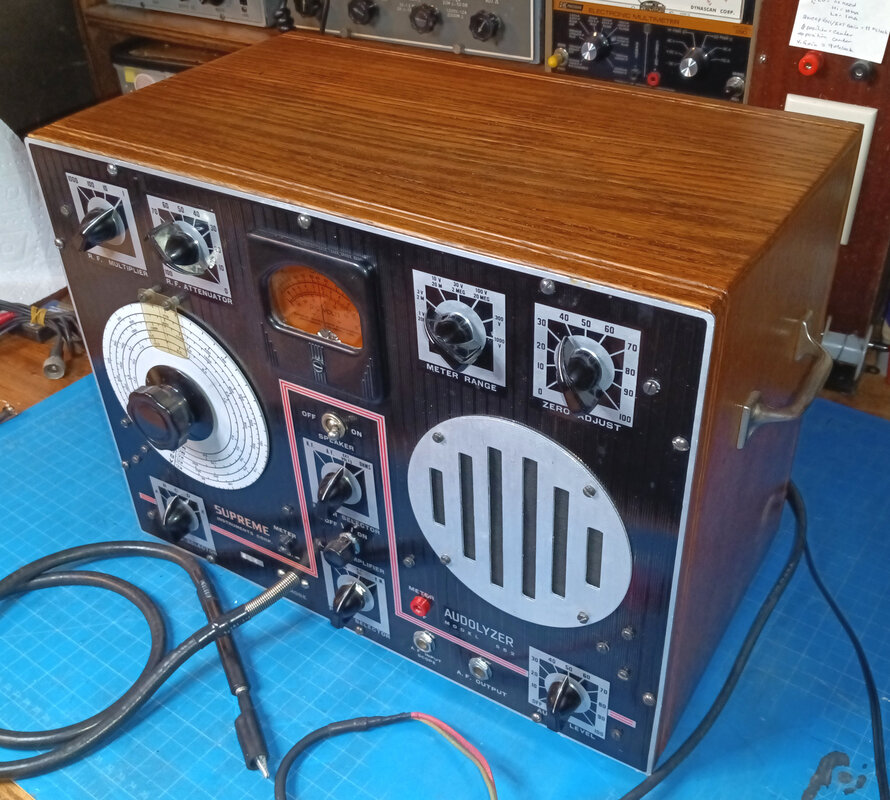
This just about wraps up work on this Audolyzer. It's back in its cabinet and will replace the gray Audolyzer on the workbench because it matches the black Vedolyzer and black 561 Metered Combination AF/RF Generator.
Page created 10/8/2021
Last edited 8/21/2022
Last edited 8/21/2022

