Ameco Model R5A Allwave Receiver
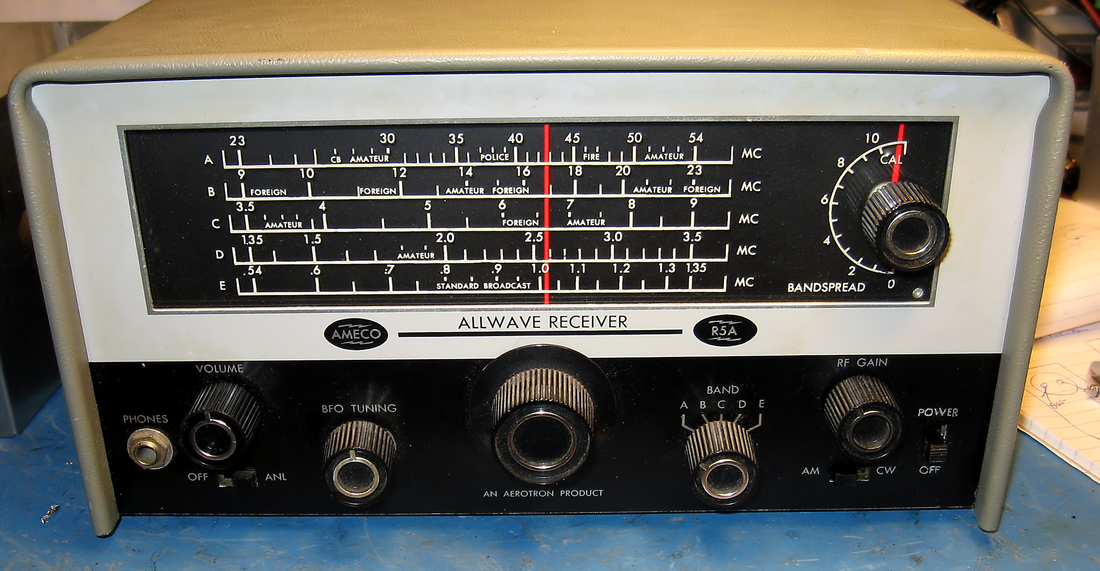
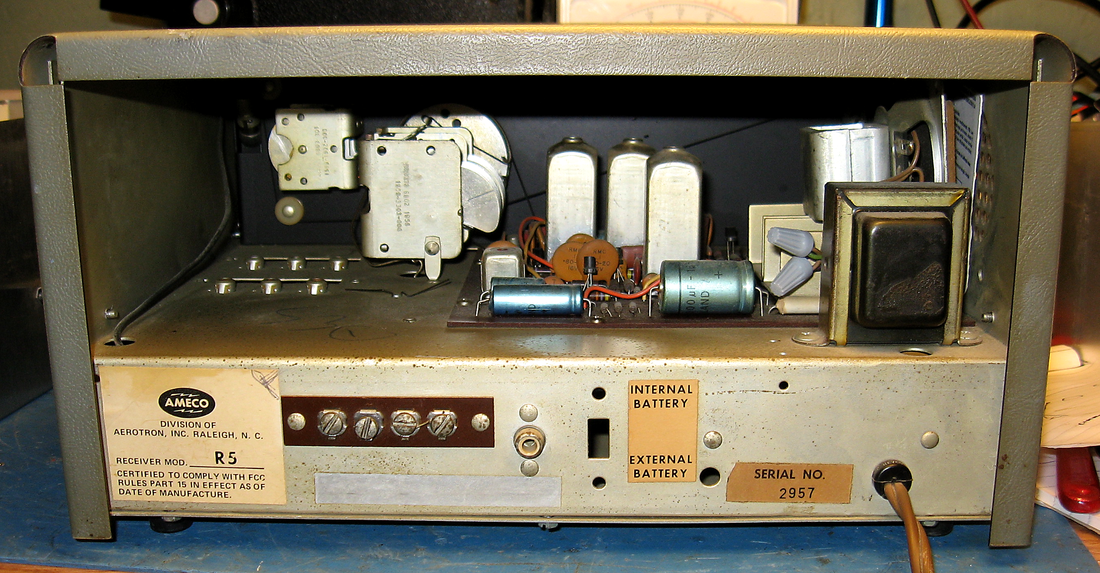
I picked up this transistorized receiver to match up with my AC-1 transmitter. It dates to about 1969 or 1970 and is an updated version of the R5 receiver. There's very little difference between the two, a component change or two, an added Q-Multiplier input, and the cabinet has been redesigned with curved corners and a speaker grill with holes, instead of louvers. The factory label on the rear still says R5 but on the front there's an R5A logo.
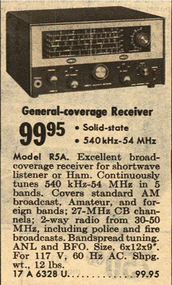
The R5 receiver is in the same ad (over on my AC-1 page) as the AC-1 transmitter I so wanted as a kid, but cost way more money than I could afford back then. The only receiver I owned growing up was a Knight Kit Span Master II which I gave away later on in life.
Although the original R5 is shown in the ad, if I had I been able to get both the Ameco transmitter and receiver back around 1970, when I was wishing for them, it would have been the R5A that was available.
|
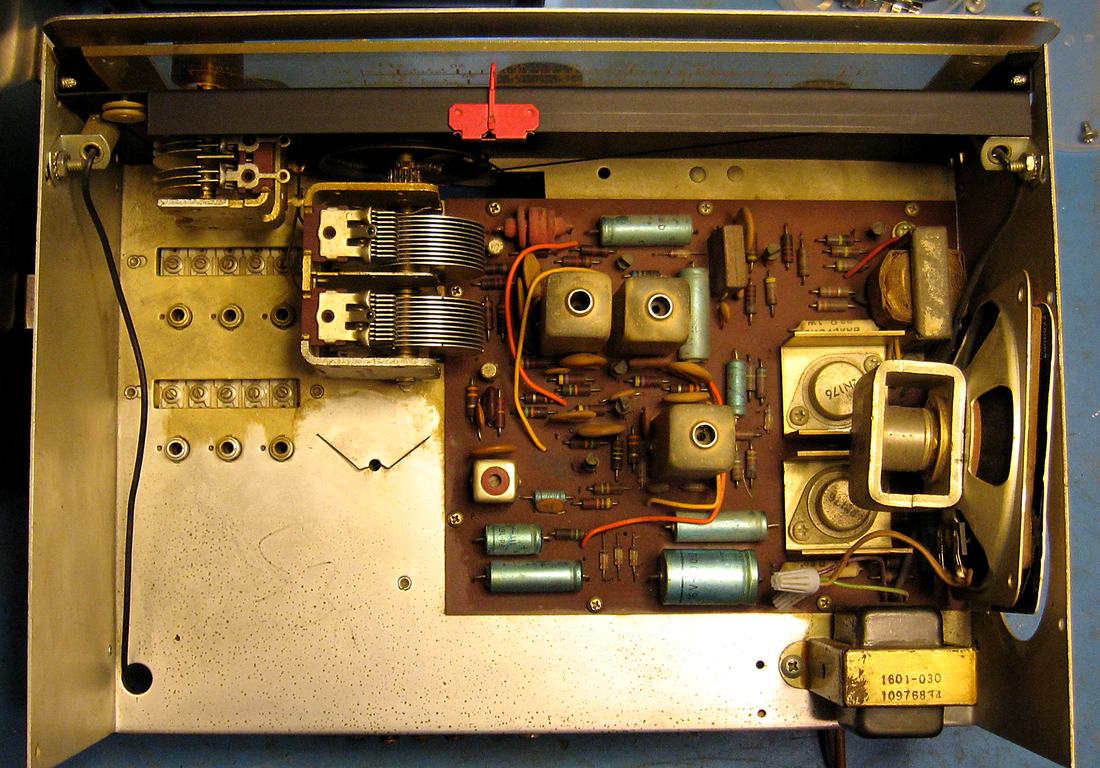
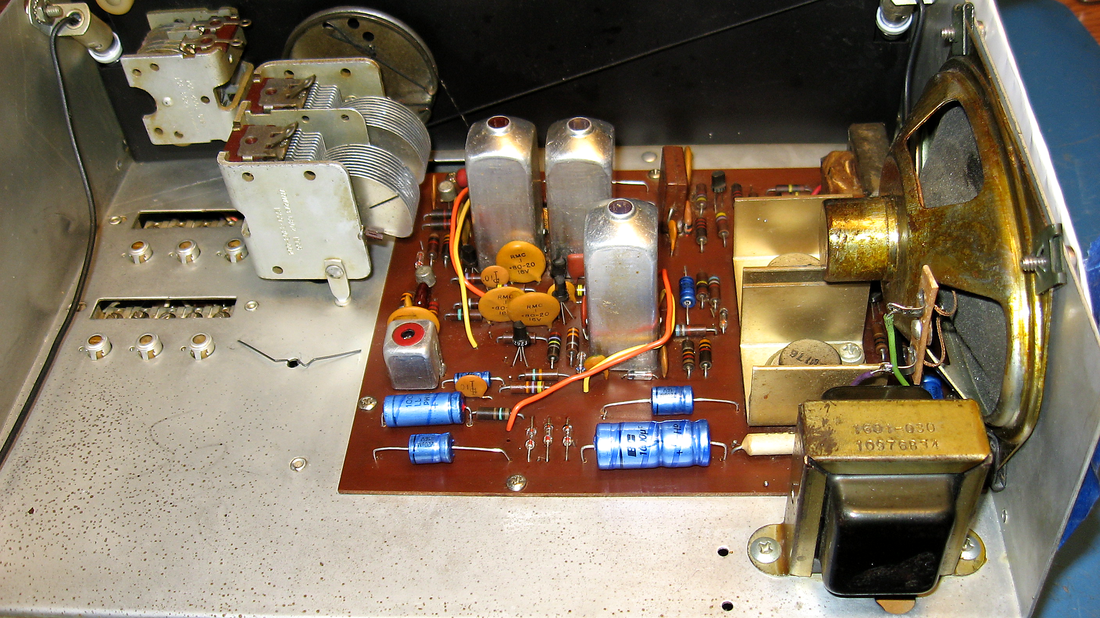
The chassis has been partly cleaned but the yellow gunk can be seen on the rest. At first I thought it might be cadmium oxidation, but it's also on the circuit board and all the other components, too. It wiped right off using a spray cleaner.
The radio sounded distorted as found and the dial lamps dimmed considerably when tuning strong signals (power supply not able to handle the load), so I replaced all the electrolytic capacitors which cleared up the problem. A strong signal easily overloads the IF and audio circuits of the radio so both the Volume and RF Gain need to be dialed down when listening to local broadcast and strong shortwave stations. |
|
The chassis looks much better after a cleaning and I've installed a proper 3.2-ohm 3" x 5" speaker.
Others changes include replacing the dial lamps with bayonet-base LEDs, just to cut the current drain on the transformer a bit, and adding a fused AC plug and a NTC thermistor (as an inrush current limiter) on the AC line to protect the transformer and components. I want to keep the look of the blue electrolytics so I searched online and found some made by Philips that are close to the blue color of the originals. The new ones are physically smaller than the original caps but still look more authentic than stuffing gray or black caps in the board. |
After realigning the radio it performs pretty well and has good sensitivity, but as mentioned above overloads easily on strong signals. Since it's an allwave receiver with a wide IF it's hard to separate out signals in the ham bands, even with a bandspread control, and it will be interesting to see how much a Q-multiplier helps. These receivers were actually advertised by Ameco as Novice class radios, but will likely be very challenging, if not next to impossible, to use in the crowded ham bands.
|
Ameco also sold a Model S-5 external speaker and Model SQ combination speaker and Q-Multiplier, but probably didn't sell many as they appear to be hard to find. Same goes for the BK-5 battery kit to add internal and external battery power.
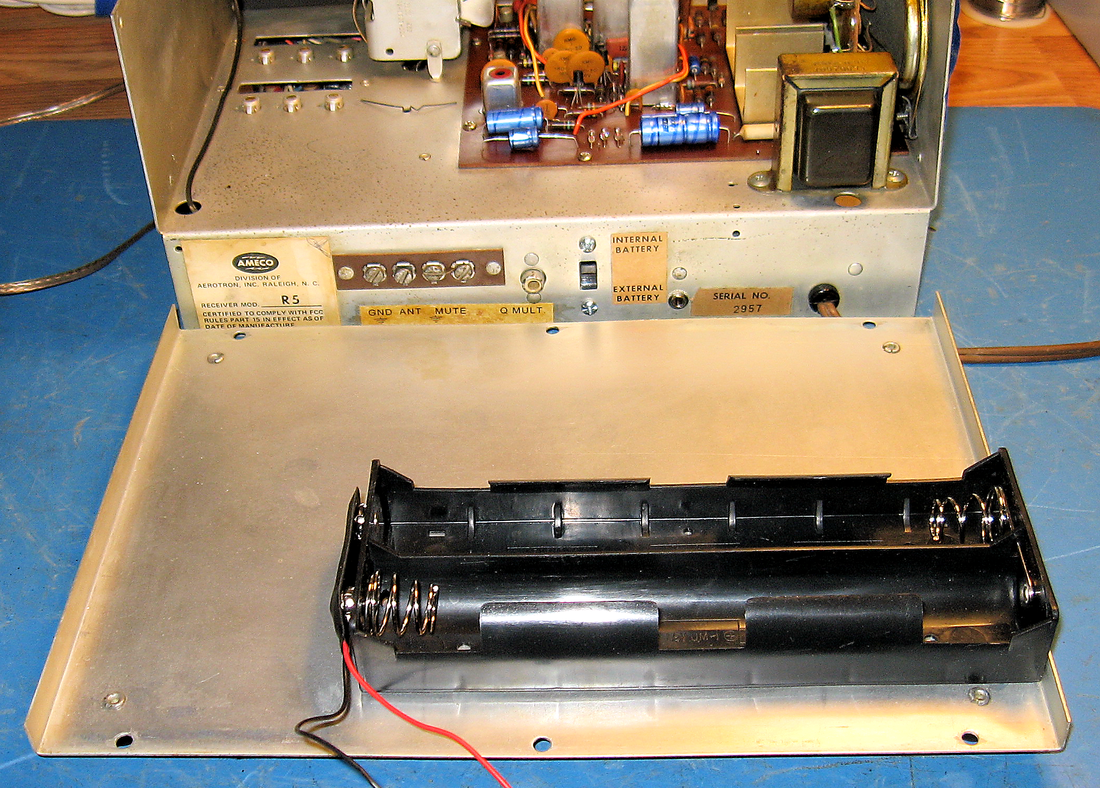
Since I can't find any of the accessories, I decided to make some of my own. The 6-D cell battery box I found online for Internal battery power will just fit under the chassis. I just had to push the antenna filter terminal strip a bit to one side to allow space for the battery box's snap-on connector. It's held in place with automotive-grade double-sided tape, so no holes drilled. |
While I was at it I made a replacement label for the antenna terminal strip and Q-multiplier jack and "aged" it with a coat of amber shellac.
|
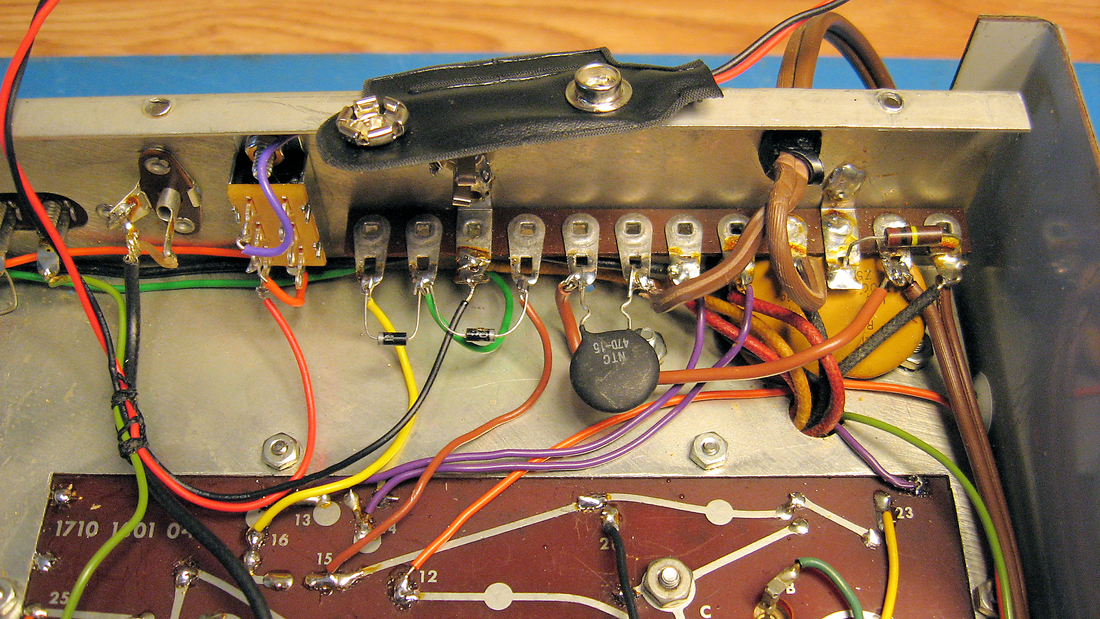
I installed a simple battery power circuit as my version of the BK-5 battery power kit. I mounted an Internal/External slide switch on the rear panel and there's a small hole to the lower right of the switch which I can only assume was originally for an 1/8" jack for the external power. The jack fits perfect so that's what I'm using it for. The 1/8" jack was kind of common back then.
The only other parts needed are two diodes and some wire. The battery circuit uses the unwired side of the power switch as well as the added switch on the rear panel. The diodes isolate the batteries from the built-in A.C. power supply. |
I really don't notice any difference between operating from battery as opposed to A.C. and the mod was easy to add because Ameco already built in the basics, adding the rear panel holes, the holes in the PCB for the wires, and extra lugs on the terminal strip. There were even two lugs left over to mount a thermistor inline with between the A.C. plug and transformer.
I purchased a couple of the S-5 speakers online, so I plan to convert one to a combination speaker and Q-multiplier. I found a transistorized circuit in an old Popular Electronics magazine article that I'll build when time permits.
Last updated 5/18/2022

