
Celestron Ultima 8 Mods
This is a mod I did many years ago. I doubt any of the parts I purchased at the time are still available and I have no idea now where you could find them today.
My Celestron Ultima 8 is well built and has good optics, but the drive was an early version with a 110VAC 60Hz AC motor. Later Ultimas had a DC quartz drive with PEC and slewing capability, still not GOTO, but a big improvement over the AC drive. Tangent instruments manufactured the electronics for Celestron and back at the time (around 2008) still had parts available, so I ordered a set.
My Celestron Ultima 8 is well built and has good optics, but the drive was an early version with a 110VAC 60Hz AC motor. Later Ultimas had a DC quartz drive with PEC and slewing capability, still not GOTO, but a big improvement over the AC drive. Tangent instruments manufactured the electronics for Celestron and back at the time (around 2008) still had parts available, so I ordered a set.

|
The original circuit board, motor and hand controller. The motor is a 110VAC 60Hz clock motor. The circuit board is basically a DC to 110VAC inverter that can be varied slightly above and below 60Hz in frequency to speed up or slow down the RA motor. It was run by two 2-volt lead-acid batteries (shown in the corner inset) which mounted internally, or from an external 12-volt supply.
This was a step up from my old orange tube C-8 that had the same motor but was wired to plug directly into 120VAC power line with no inverter or speed control at all. You had to buy an external inverter to vary the RA speed. |
|
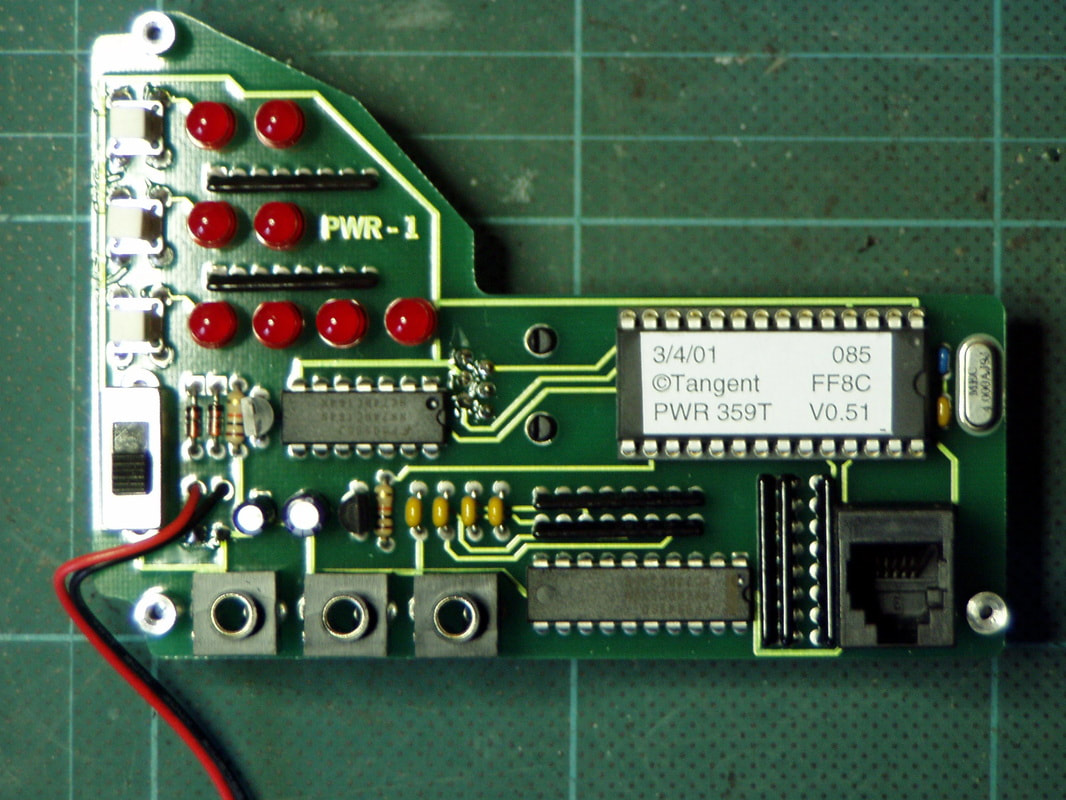
This is the new drive electronics I received from Tangent along with a new DC drive motor (seen below) and the circuit board for the matching hand controller.
The new controller has four quartz-controlled rates (Sidereal, Lunar, Solar and King) plus the ability to slew the scope at up to 800x sidereal rate. And it can record and playback periodic error corrections. There are also jacks for the Declination motor and a focuser. |
|
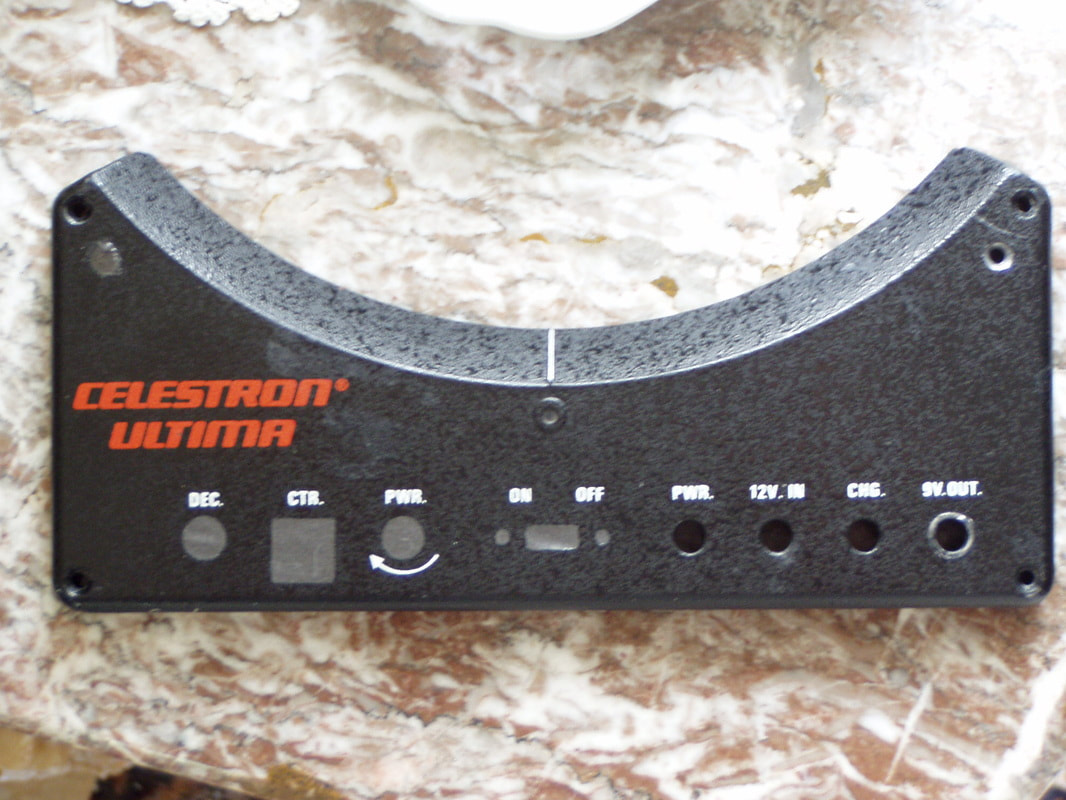
I filled most of the original holes in the top plate so I could redrill it for the new control board. I just capped the four holes on the right side in case I might need to add something in the future.
|
|
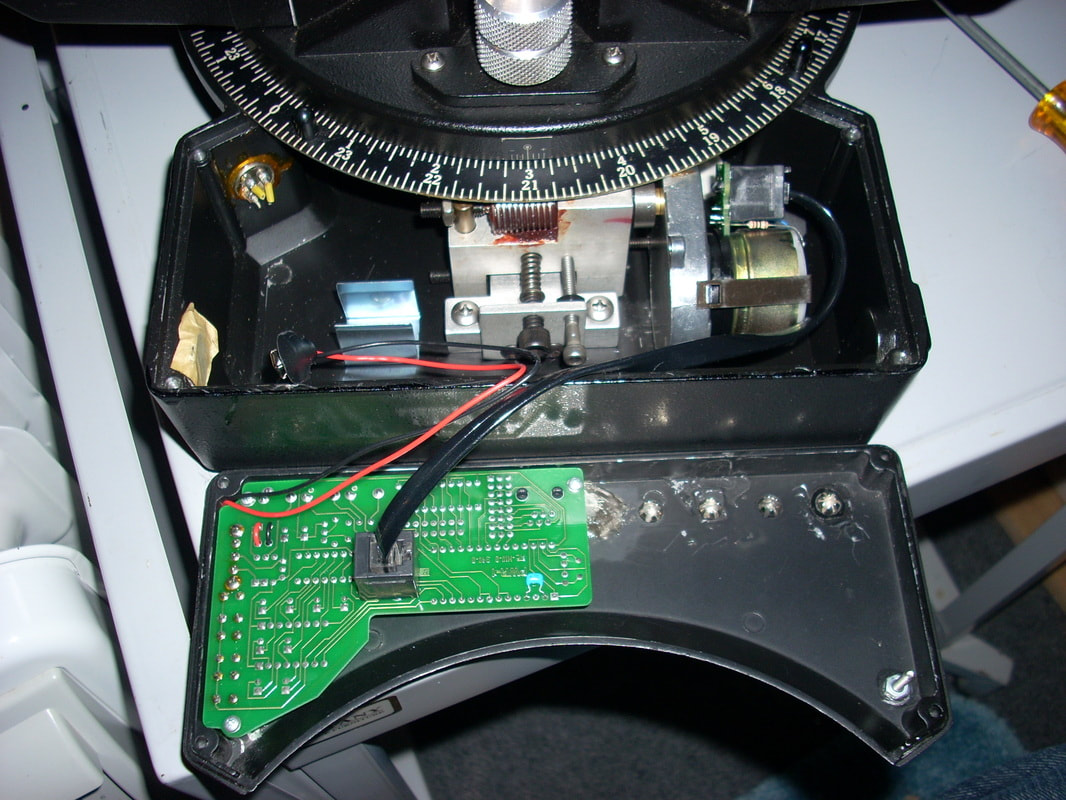
The new drive motor and worm gear. The drive runs from a single internal 9-volt battery or from 6 to 12VDC input to the front panel jack.
Before my new electronics upgrade, I had modified the base by adding the 4-pin amphenol connector (seen in the upper left of the scope base in the photo above) to run the old AC motor wires out on two pins to an external quartz-controlled drive inverter. The internal PCB's inverter output wires (which original went to the motor) were then connected to the other two pins of the amphenol connector. Using a cable I could connect the motor to my external quartz-controlled inverter or I could go back to the internal inverter by simply installing a jumper plug onto the amphenol connector to jump the motor wires back to the internal inverter's output. With the Tangent electronics upgrade this connector is no longer needed or used and is just there to "plug up" the hole in the base. |
|
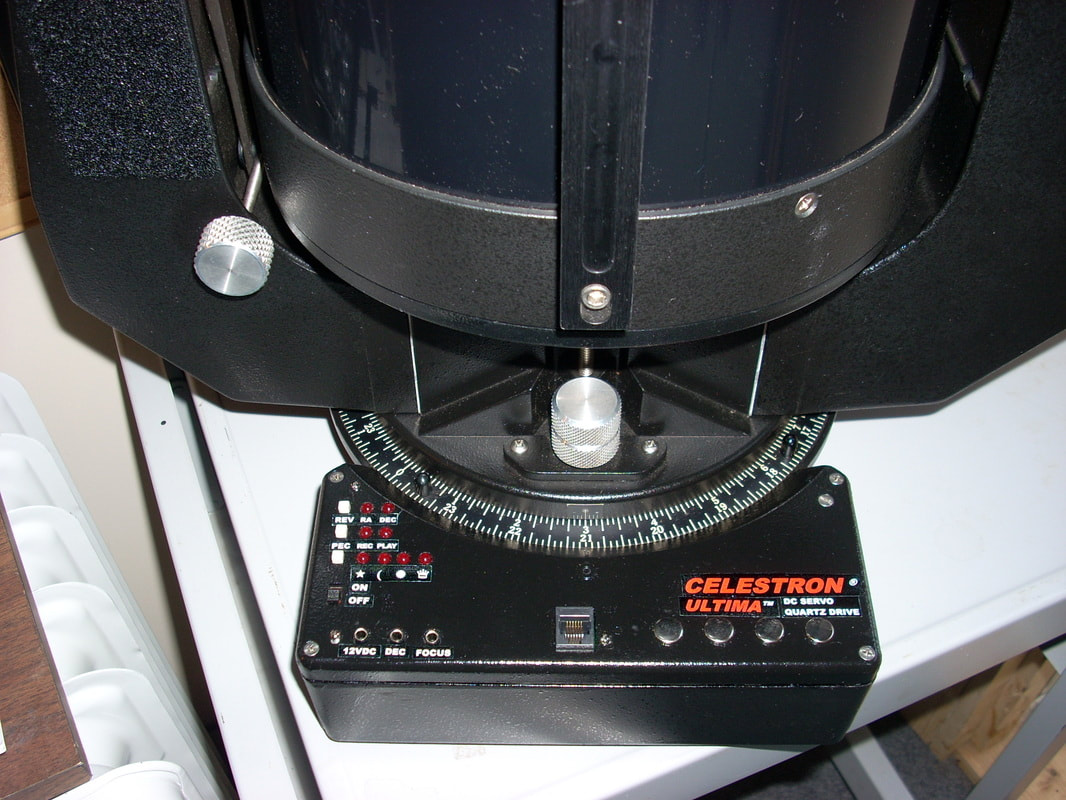
The completed drive base. I relabeled everything with water slide decals that I made on my inkjet printer.
|
|
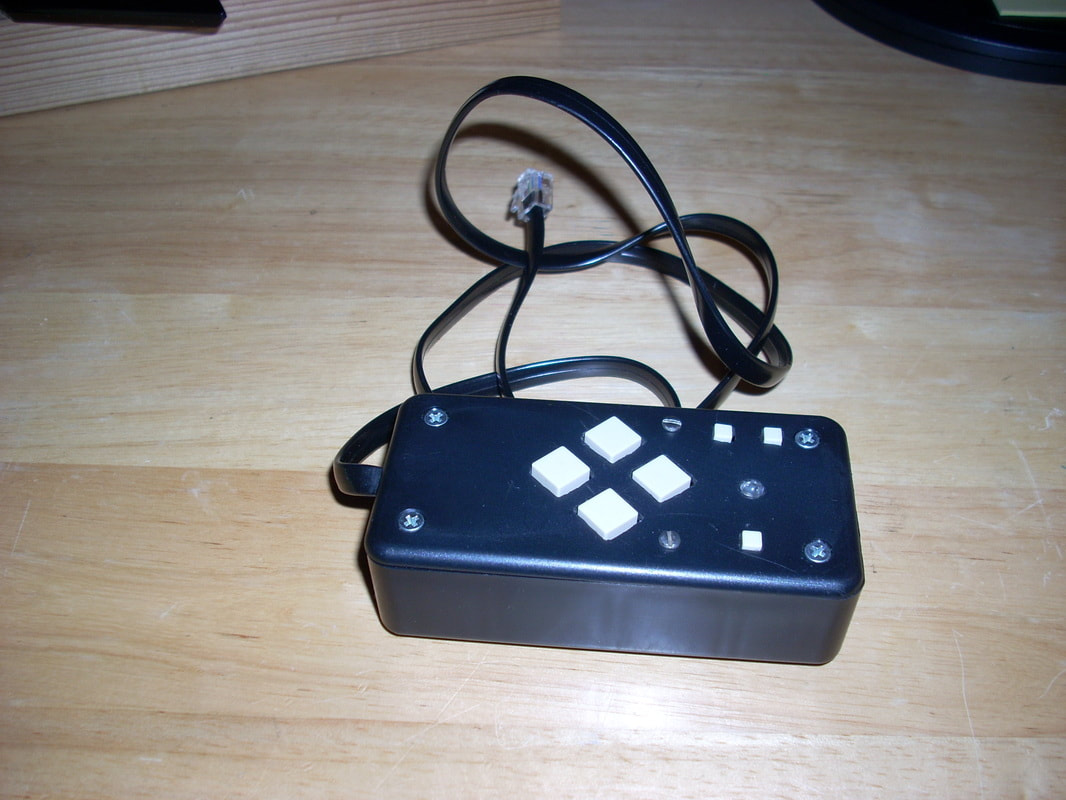
Tangent had the pre-assembled circuit board for the hand controller but no complete units already mounted in cases, so I modified a radio Shack project box as a case for the board and all that it needs now are some labels (keep forgetting to make them).
|
Last Updated 2/23/2020
