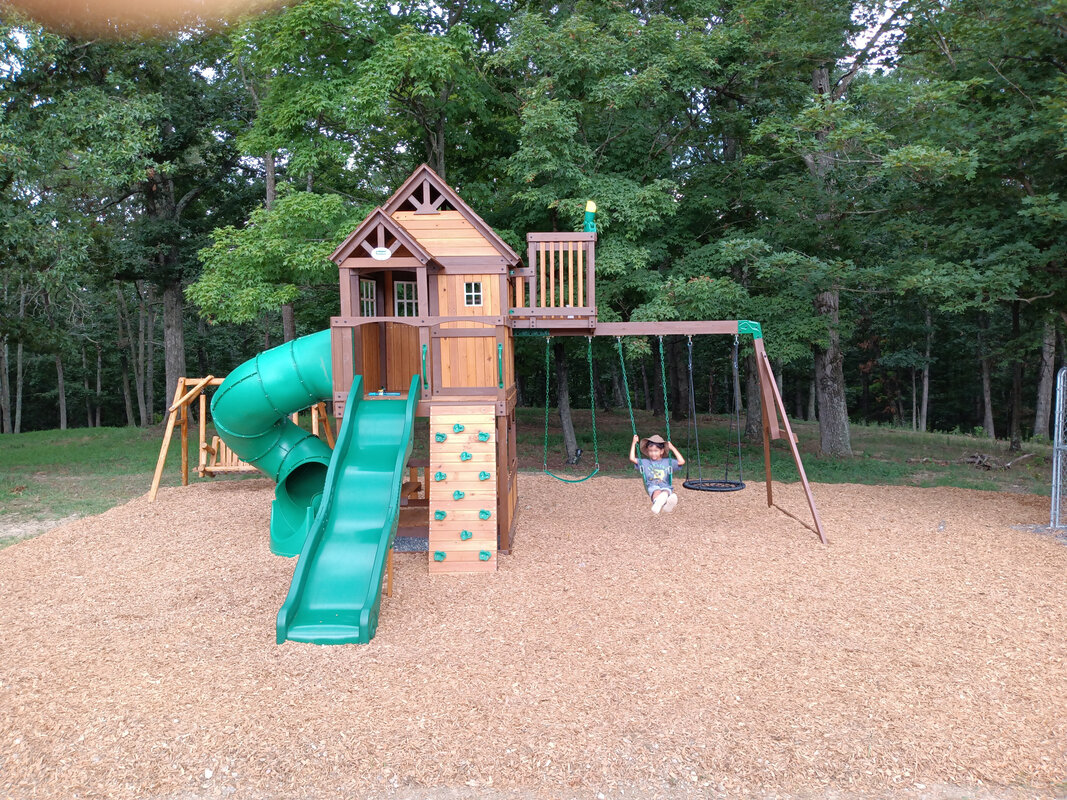
Building a Kids Playground
If I've learned anything from building this playground set it is never volunteer to do another one. It has been way more work than I ever imagined.
One important thing not mentioned before you buy such a kit is that although the wood pieces are precut and stained, they are not sealed against the weather. And the warranty is void unless you seal all the wood. Plus I read many comments onliine saying if you don't seal the wood it will look like crap in six month's time.
So the first order of business was buying a gallon of Australian Timber Oil and setting about sealing each individual piece of wood. That's most of four 6' long boxes for the set - hundreds of individual pieces. It felt like it took forever. I started in my free time last fall, a couple hours at a time here there, and didn't finish until this summer. I used about two gallons of oil altogether.
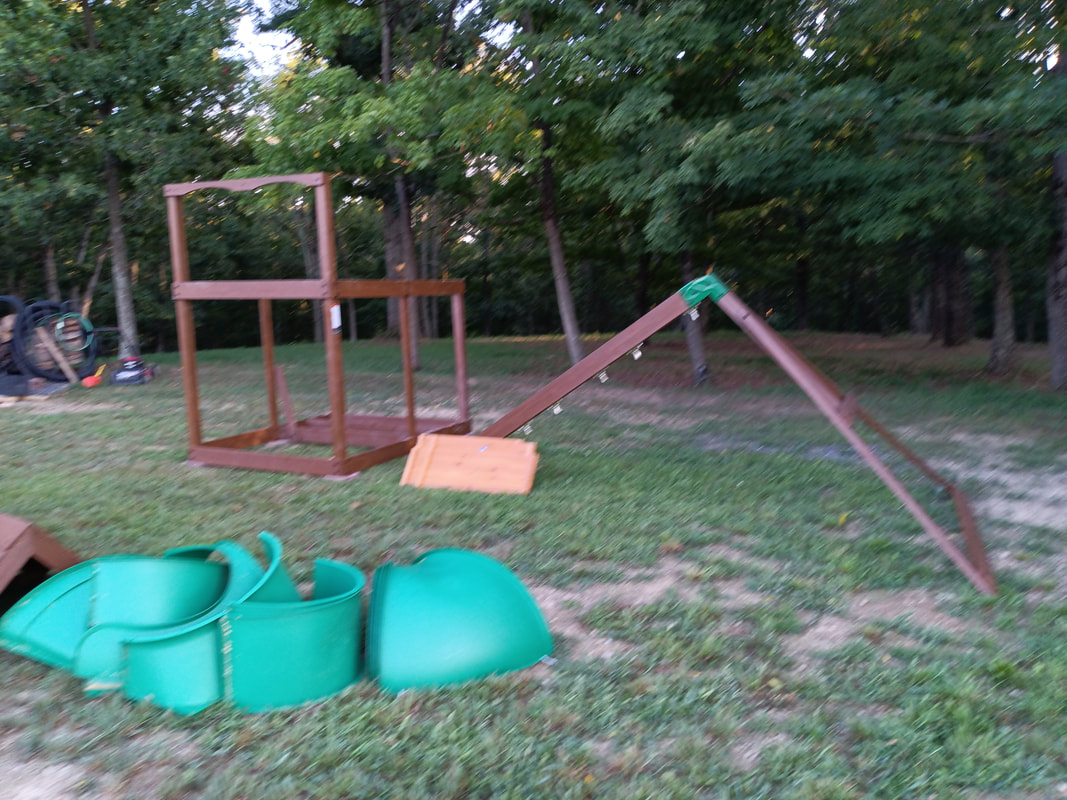
The second step was preassembling some of the components such as the ladder, roof and floor panels, swing section, straight slide, and the rock climbing wall.
|
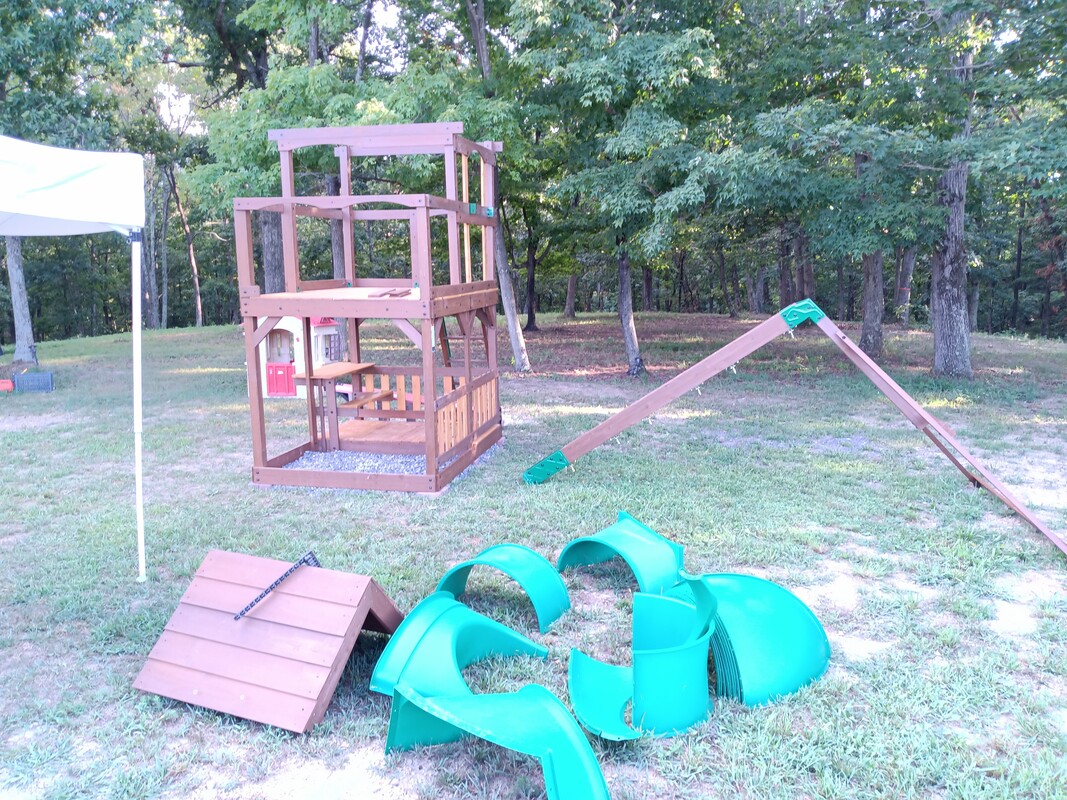
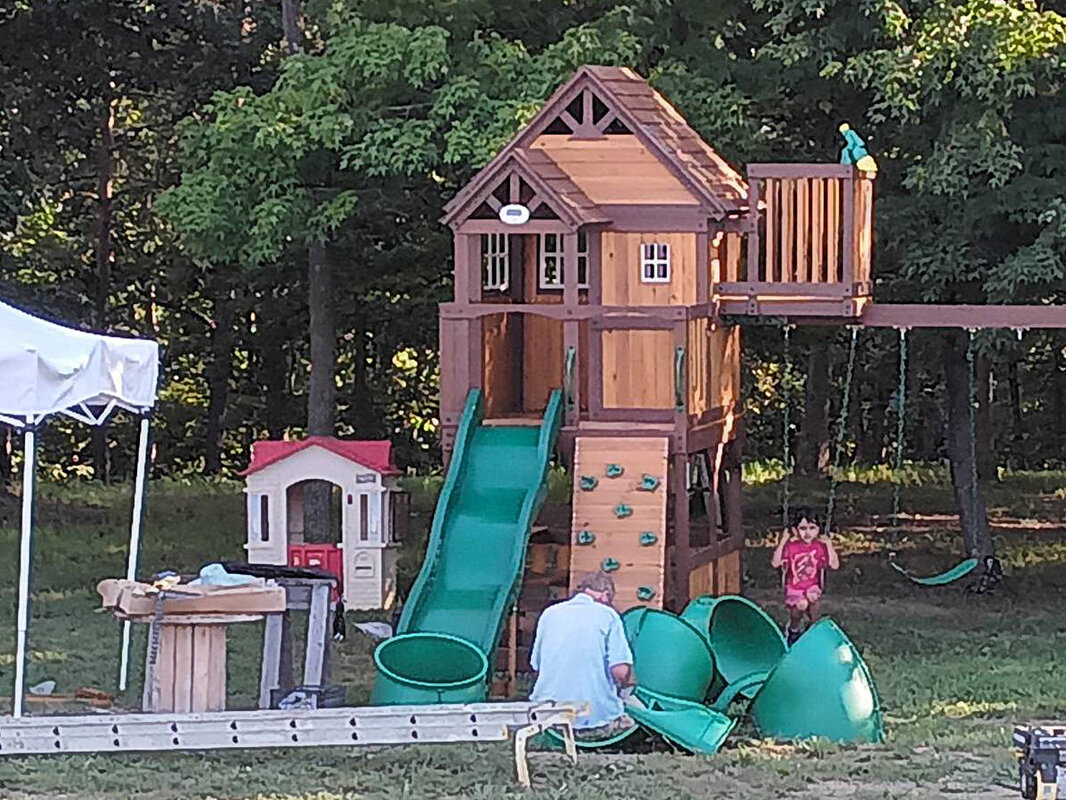
Finally, we are ready to start building the main structure itself. The first thing I didn't agree with was the instruction stating to build the base on the ground. The wood wouldn't last long sitting on the ground before it started rotting so I set it on concrete patio bricks and filled the base area with gravel. I kept the bricks close to the building edges so they wouldn't protrude and present a hazard and it will all be packed around the outside with at least six inches of mulch.
|
|
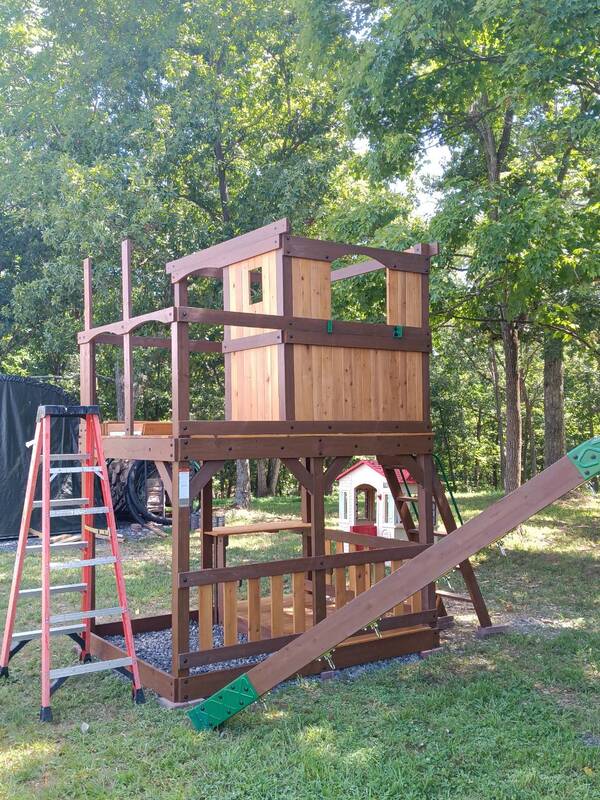
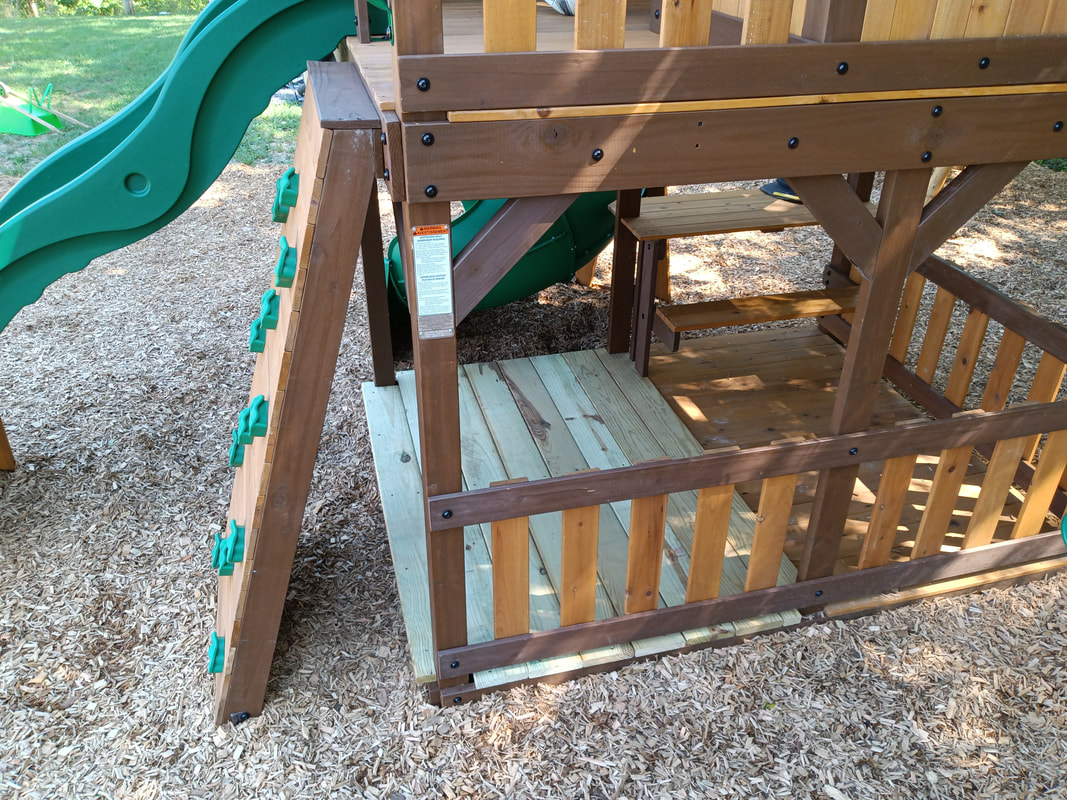
Day 2 of the actual build. The first floor is done and starting on the second level. I didn't realize until now that there is no floor in half the bottom. My grandson asked where the floor was, and when I said there wasn't one, he told me I needed to call them. I suppose it was meant to be a sandbox, but I don't want sand in the middle of the playset.
I have some decking left over from my front porch so I am going to fill in the open half-floor after I finish the rest of the build. |
|
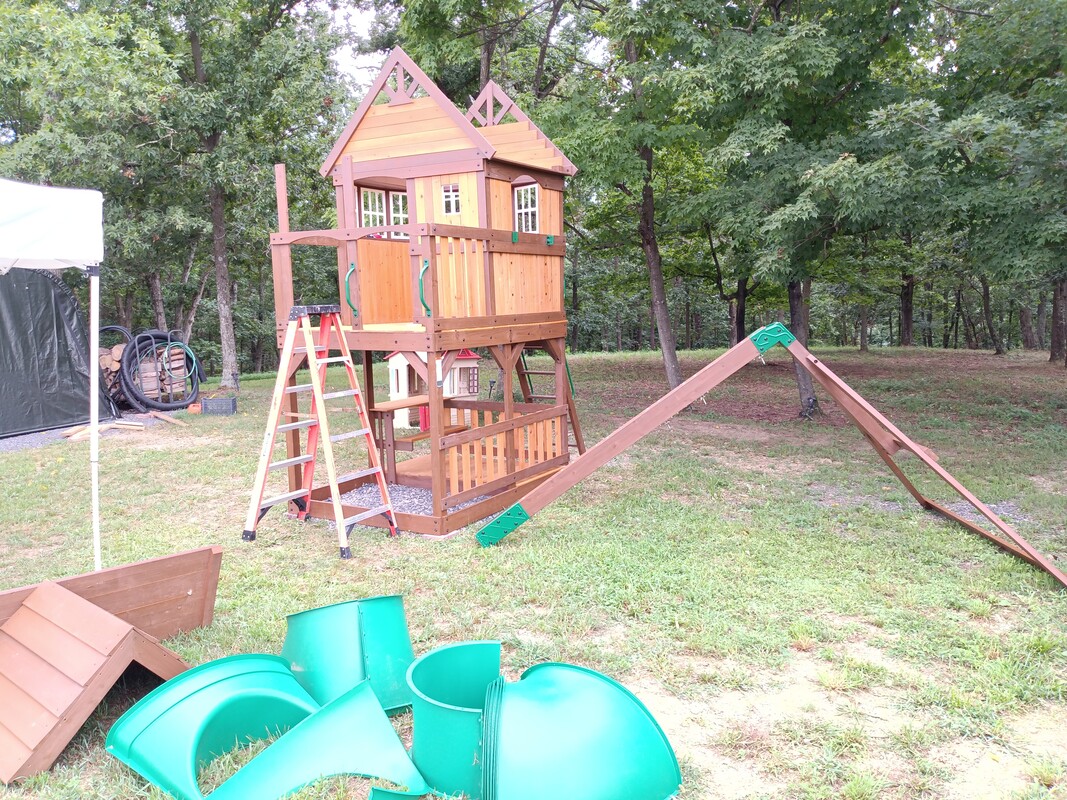
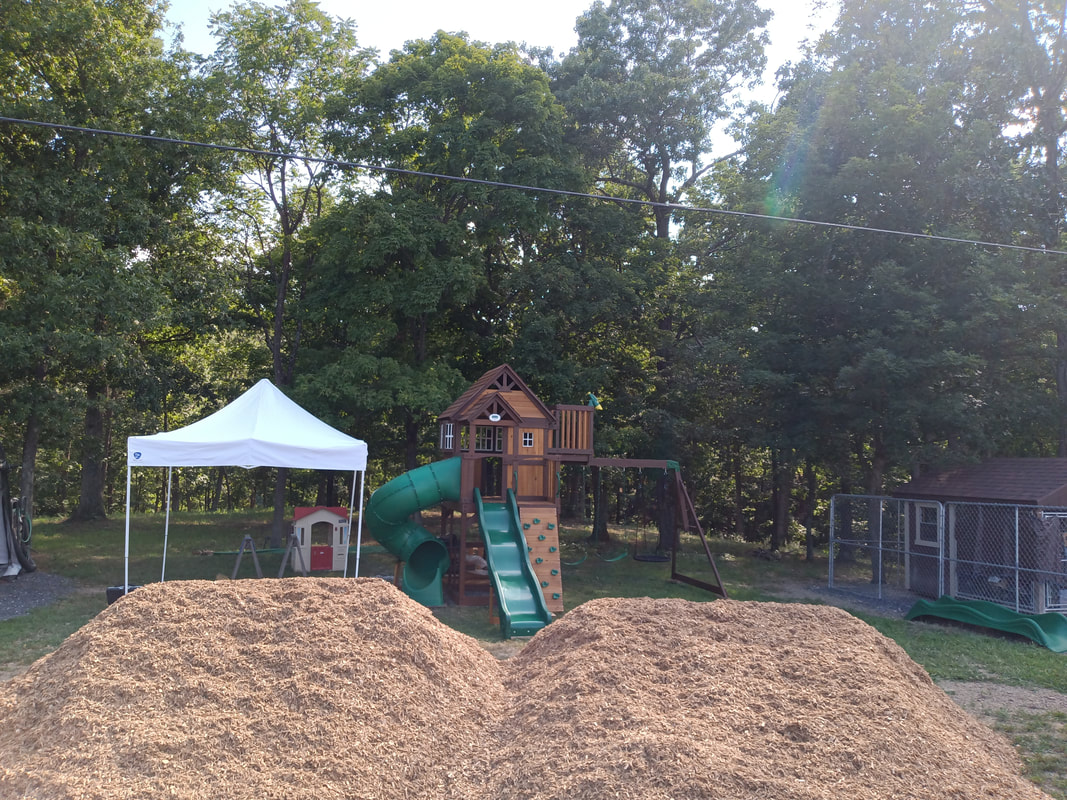
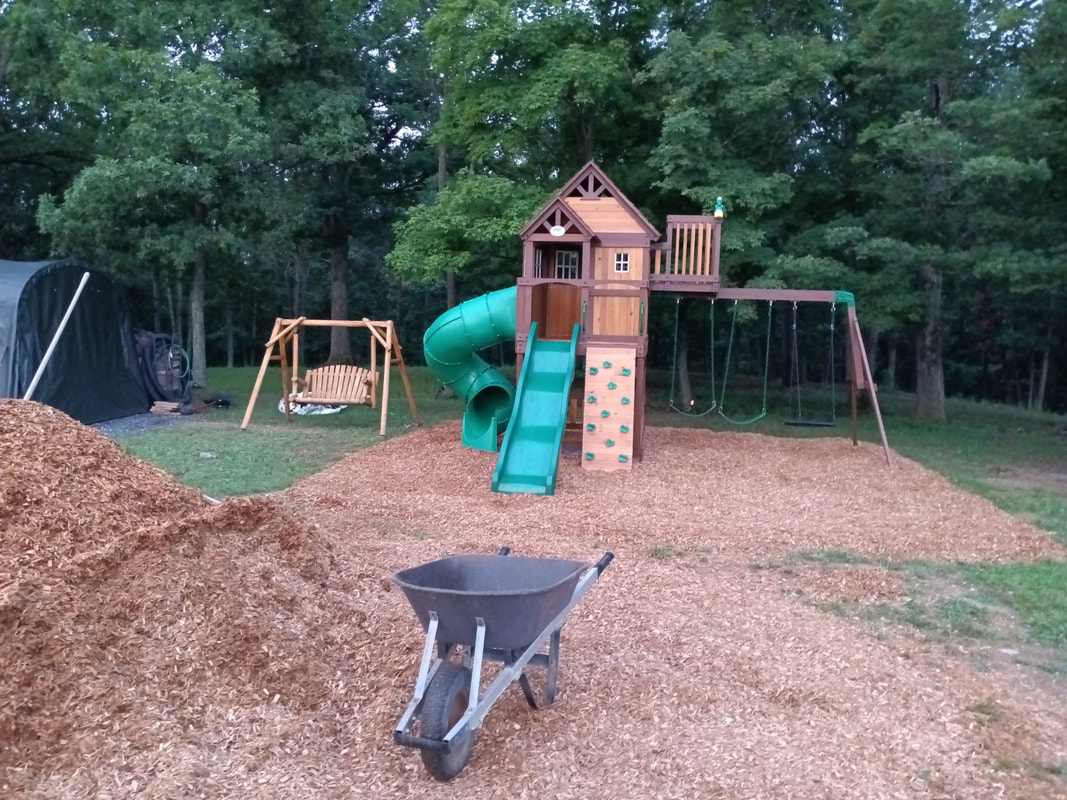
After more rain interruptions we're at Day 7 and spreading mulch. But before putting the mulch down, the swing, slides, rock wall and ladder needed ground stake tie-downs installed. But because I raised the main structure off the ground a couple of inches, all the attached pieces are raised an equal amount, which gave me space to install pressure treated boards on the bottoms of them first. Then the stakes were installed. Raising the set also allows for a thicker bed of the mulch.
|
Page created 8/4/2022
Last edited 8/12/2022
Last edited 8/12/2022

